Painting Mistakes Beginners Always Make (And How Pros Avoid Them)
When Your Paint Job Looks Great… Until It Dries
You prepped. You painted. And now that it’s dry, you’re wondering why it looks like a crime scene under certain lighting. Whether it’s streaky coverage, drips, or that mysterious “flashing” sheen, beginner painting mistakes can undo hours of work.
The good news? Every pro painter has made these same errors, they’ve just learned how to prevent and fix them. This guide breaks down the most common painting mistakes and how to get a flawless finish, even if you’re new to DIY.
Affiliate Disclosure: Some of the links below are affiliate links, which means we may earn a small commission if you choose to buy through them — at no extra cost to you. This helps keep Gold Team Home running so we can keep sharing DIY tips and guides. Thanks for your support!
1. Skipping Surface Prep
The mistake:
Slapping paint on without cleaning, sanding, or priming is a shortcut that never pays off. Dirt, grease, and glossy old finishes make paint peel or fail to stick.
The fix:
- Pro fix: Wash surfaces with a degreaser like Krud Kutter Pre-Paint Cleaner, lightly sand glossy areas, and prime as needed.
- Beginner workaround: At minimum, wipe walls with a damp microfiber cloth and spot-prime patched areas.
Related guide: Learn how to prep surfaces in the full How to Paint Like a Pro guide.
2. Using Cheap or Wrong Brushes and Rollers
The mistake:
Low-quality tools shed bristles, leave streaks, and make it impossible to get an even coat.
The fix:
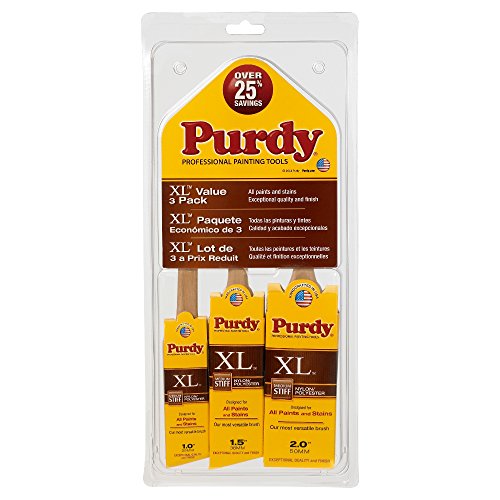
- Pro fix: Invest in quality brushes such as the Purdy XL Series and the right roller nap for your surface.
- Beginner workaround: If budget is tight, spend on a good brush for cutting in, it’s where mistakes are most visible.
For tool recommendations, check out the Top 10 Tools That Make Home Projects Actually Easier.
3. Not Taping (or Over-Taping)
The mistake:
Skipping tape leads to wavy lines. Over-taping and leaving it too long tears paint.
The fix:
- Pro fix: Use high-quality painter’s tape like FrogTape and remove it while the paint is still slightly tacky.
- Beginner workaround: Use an edging brush for straight lines without tape.
4. Painting Too Thin or Too Thick
The mistake:
Too thin = poor coverage. Too thick = drips and uneven texture.
The fix:
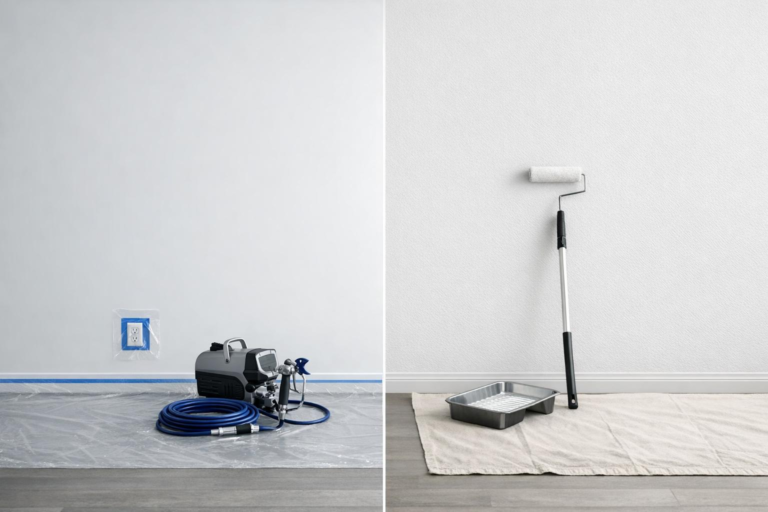
- Pro fix: Load your roller evenly and use a “W” pattern to spread paint. Apply two medium coats instead of one heavy one.
- Beginner workaround: Use a paint grid in the bucket, it helps control the amount of paint on your roller.
5. Ignoring Paint Sheen
The mistake:
Using the wrong sheen (flat, eggshell, satin, etc.) for the space leads to durability or touch-up headaches.
The fix:
- Pro fix: Match sheen to room function, flat hides imperfections, satin is washable, semi-gloss for trim and high-moisture areas.
- Beginner workaround: If unsure, eggshell is a safe all-around choice for walls.
The Common DIY Mistakes guide covers more project pitfalls to avoid.
6. Skipping Primer on Problem Areas
The mistake:
Painting directly over stains, repairs, or dark colors leads to bleed-through.
The fix:
- Pro fix: Spot-prime repairs and stains with Zinsser Bulls Eye 1-2-3.
- Beginner workaround: For dark-to-light transitions, use a tinted primer to reduce the number of coats needed.
If your walls need repair before painting, see Fixing Drywall Mistakes: Holes, Anchors, and Cracks That Keep Coming Back.
7. Rushing Between Coats
The mistake:
Not letting paint dry completely before the next coat can cause peeling and uneven sheen.
The fix:
- Pro fix: Follow the can’s recoat time (usually 2–4 hours for latex paint).
- Beginner workaround: Work on another wall or room while waiting, it’s the best way to stay productive.
Painting Tool Kit
Top Pick
We earn a commission if you make a purchase, at no additional cost to you.
We earn a commission if you make a purchase, at no additional cost to you.
We earn a commission if you make a purchase, at no additional cost to you.
Pro Pick
We earn a commission if you make a purchase, at no additional cost to you.
We earn a commission if you make a purchase, at no additional cost to you.
Key Takeaways
- Prep is everything, a clean, primed surface makes or breaks the result.
- Quality tools are worth every penny for a pro-level finish.
- Sheen matters, choose it for the room’s purpose, not just looks.
- Take your time between coats for lasting results.
- Fixing mistakes early saves time and frustration later.
Get organized before you start. Use the DIY Project Planner to track every step.
Related posts: