New! DIY Project Planner. Plan smarter, skip the spreadsheets. Start Your Free Trial Today →

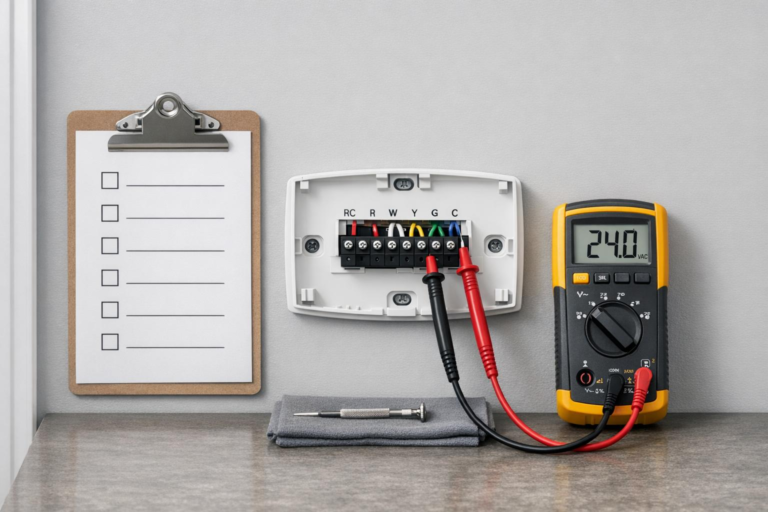
Smart DIY & Home Improvement Tips
Smart DIY & Home Improvement Tips
Identify hollow-sounding tiles and grout problems with tap tests, visual checks and thermal imaging; learn when to use epoxy repairs or call a professional.
Hollow tiles and grout problems can lead to costly repairs if not addressed early. Here’s what you need to know:
Act quickly. Fixing hollow tiles early with adhesive injections is simpler and cheaper than dealing with cracked tiles or structural damage. For widespread issues, consult a professional to avoid long-term problems.
When you tap on a tile that’s properly bonded, it produces a high-pitched, solid sound. In contrast, hollow tiles emit a low-pitched, drum-like tone that stands out immediately. This sound is a clear sign of air gaps between the tile, adhesive, or substrate, indicating a hollow condition.
"If you hear a lower-pitched or a hollow sound, this can indicate that tiles have debonded, or were never bonded, somewhere within the tile assembly." – Donato Pompo, Founder, Ceramic Tile and Stone Consultants
It’s worth mentioning that tiles installed over uncoupling membranes or wood subfloors tend to sound more hollow even when they’re installed correctly. The challenge lies in distinguishing between the natural acoustics of the floor system and a genuine weak bond.
Hollow tiles are often the result of installation mistakes and surface contamination. A major issue is spot-bonding, where adhesive is applied only at key points like the corners and center instead of being spread evenly across the entire tile. This creates large voids and fails to meet the 80% coverage standard required for residential floors. Contaminants like dust, paint overspray, curing compounds, or even water residue from a wet saw can also prevent proper bonding. Additionally, using thin-set mortar past its pot life or skipping the slaking process can cause the mortar to "skin over", losing its adhesive properties.
"Spot-bonding leaves larger voids under the tile, cracked tile over voids is a typical observation." – Donato Pompo, Ceramic Tile and Stone Consultants
Environmental factors can also weaken the bond over time. Tiles expand when exposed to heat or moisture, and without proper expansion joints every 20 to 25 feet, this pressure leads to compression stress. The result? Tiles may debond or even "tent up" from the floor. Substrate deflection, where wood subfloors flex under foot traffic, can also break the bond and crack the grout. In wet areas, moisture penetration gradually weakens the adhesive, while temperature fluctuations in sunny rooms or outdoor spaces can slowly pull tiles loose.
Recognizing these causes is the first step in addressing hollow tiles. The next section will dive into specific diagnostic methods to pinpoint these issues effectively.
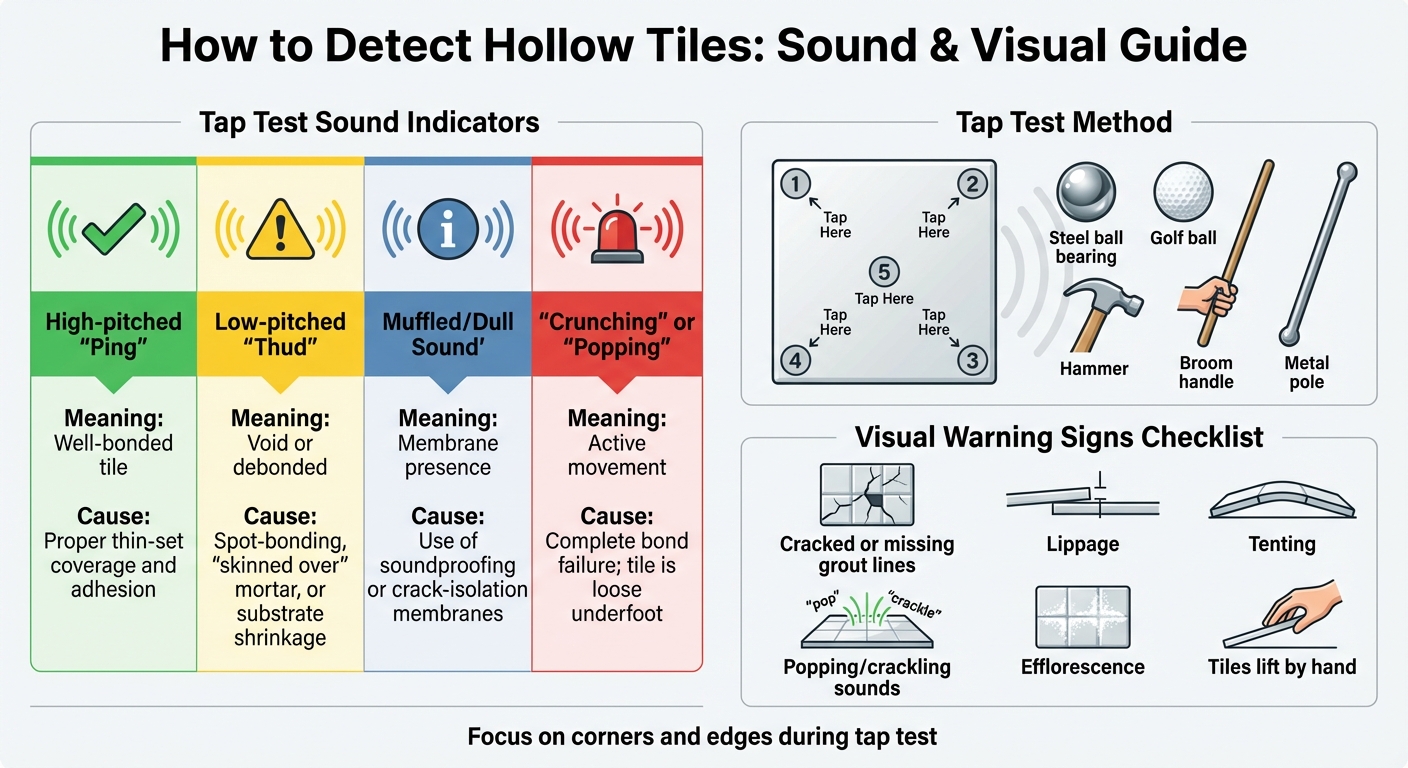
Hollow Tile Detection Guide: Tap Test Sounds and Visual Warning Signs
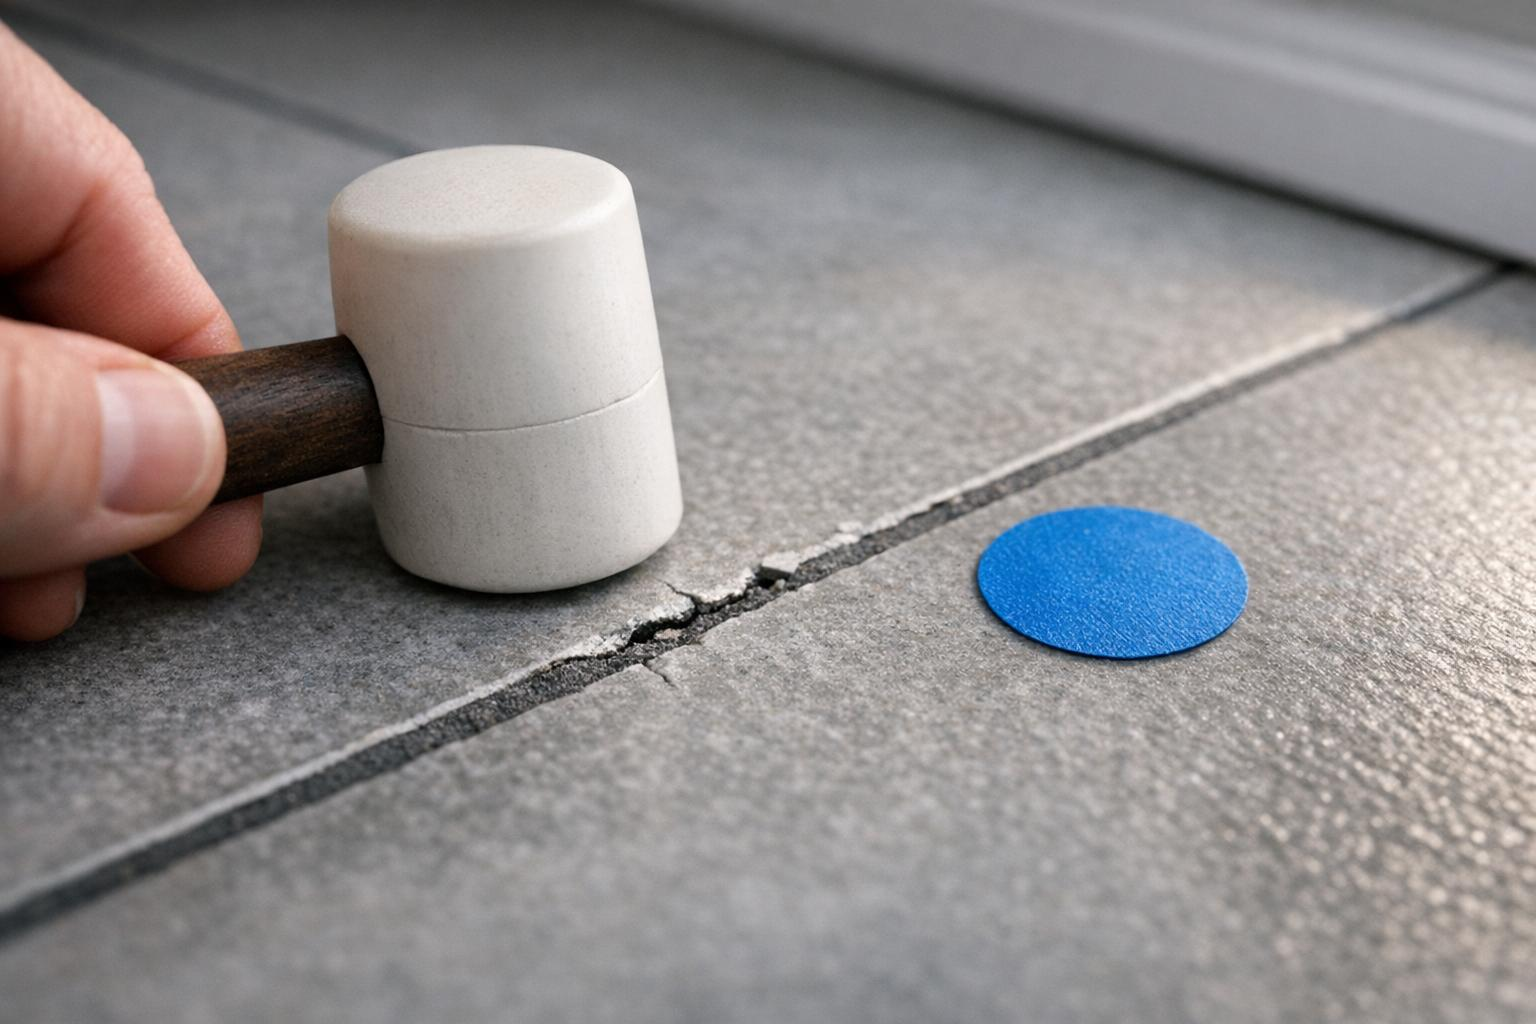
When trying to identify hollow tiles, the tap test is a simple yet effective approach. You’ll need a hard object like a steel ball bearing, golf ball, hammer, broom handle, or metal pole. Professionals often rely on specialized tools, but for consistency, stick to the same tool throughout the process to ensure uniform sound comparisons.
Here’s how it works: Tap each tile systematically in a grid-like pattern, paying attention to all four corners and edges – not just the center. The sound you hear can reveal a lot about the tile’s condition. The table below breaks down the common sound indicators:
| Sound Type | Likely Meaning | Potential Cause |
|---|---|---|
| High-pitched "Ping" | Well-bonded | Proper thin-set coverage and adhesion |
| Low-pitched "Thud" | Void or debonded | Spot-bonding, "skinned over" mortar, or substrate shrinkage |
| Muffled/Dull Sound | Membrane presence | Use of soundproofing or crack-isolation membranes |
| "Crunching" or "Popping" | Active movement | Complete bond failure; tile is loose underfoot |
"A hammer, chain, golf ball, chisel, or any other hard apparatus is used to tap the tile. If the tile sounds solid it will produce a pinging sound. If it is not bonded or there is a void in the setting mortar, the tile will sound hollow and produce a thud-type sound." – Frederick M. Hueston, Founder, Stone Forensics
After identifying hollow areas, use painter’s tape or a temporary marker to highlight the problem spots. Patterns of hollow sounds, especially at the corners, often point to spot-bonding issues. If around 25% of your floor produces hollow sounds while the rest feels solid, it could signal significant installation problems.
Once you’ve gathered this auditory feedback, follow up with a visual inspection to confirm any potential issues.
After completing the tap test, take a closer look for visible signs of trouble that often accompany hollow tiles. Start by checking for cracked or missing grout lines – these are common precursors to tile failure. Watch for lippage, where one tile sits higher than its neighbors, which can indicate poor substrate preparation or shifting over time. Tenting, where tiles lift upward, is another clear warning sign, often caused by a lack of movement joints.
While walking across the floor, listen for popping or crackling sounds – these suggest tiles are moving or rubbing against the substrate. Inspect for efflorescence, a white, powdery residue that hints at moisture buildup beneath the tiles. If tiles can be easily lifted by hand, it’s a clear indicator of bond failure.
Pay special attention to high-traffic areas like kitchens or the edges of rooms where tiles meet walls, as these spots are more prone to wear and tear.
Catching issues early can save you from expensive repairs, and advanced testing methods come into play when basic evaluations fall short.
If tap tests give unclear results – often due to soundproofing membranes or substrates that are naturally hollow – thermal imaging can help. This method identifies temperature differences to locate voids beneath the surface. Before diving into advanced tools or expert assessments, double-check whether your floor design includes intentional membranes or low-density substrates that could skew results.
"A sounding test should always be followed by a destructive test to verify the results of your sounding. A definitive conclusion should never be made based only on the results of sounding."
– Frederick M. Hueston, Founder, Stone Forensics
Thermal imaging becomes especially valuable when initial tests suggest widespread problems.
Advanced testing is essential when issues affect large areas rather than isolated spots. For instance, if a significant portion of the floor produces hollow sounds while nearby sections do not, this could point to systemic installation flaws. A common example is tenting, where tiles lift upward due to missing movement joints or structural deflection.
Also, keep an eye on problems that seem to spread over time. For example, if hollow sounds and grout cracks start in one area but gradually appear elsewhere, it may indicate deeper substrate issues or environmental factors rather than isolated installation mistakes. Other warning signs – like widespread grout failure or crackling sounds underfoot – often suggest structural shifts, moisture damage, or contaminants that disrupt proper bonding.
"What signals debonding is a differential in sound from one area of an installation to another, or from one portion of the tile to another."
– Donato Pompo, Founder, Ceramic Tile and Stone Consultants
This guide has highlighted essential diagnostic techniques to help you spot and address potential flooring issues. Catching problems early can save you from expensive repairs down the line. The tap test remains your go-to method – use a golf ball or steel ball bearing to systematically check your floor. Pay close attention to changes in sound from one area to another, as these variations are often the most reliable sign of trouble.
Visible issues like cracked, loose, or missing grout are red flags for tile movement. Tackling these signs quickly can stop the damage from spreading to nearby tiles, preventing larger problems like widespread debonding or even hazardous tenting.
"Early identification is the key to addressing the problem and finding the solution."
– PropChk
According to industry standards, residential floors should have 80% mortar contact, while commercial or wet areas require 95%. If these standards aren’t met, the structural stability of your tiles can be compromised, leaving them prone to cracking under normal use or accidental impacts.
For isolated hollow spots that haven’t yet caused visible damage, epoxy injections through grout lines can be a quick and non-invasive solution. However, if you notice widespread hollow sounds, noticeable movement, or rapidly failing grout, it’s time to bring in a professional for a detailed evaluation. Acting swiftly with these proven techniques – from tap tests to visual inspections – can safeguard your flooring and minimize repair expenses. Don’t wait – addressing these issues now could save you significant time and money later.
If roughly 10% of tiles sound hollow but there are no visible signs of movement or damage, it’s usually not a big issue. However, if more tiles are affected or there are noticeable problems like cracks or damaged grout, it could point to installation errors or voids beneath the tiles. These issues might compromise the tile’s durability, so a closer inspection or even replacement might be needed to avoid bigger problems down the line.
Yes, using uncoupling membranes like Schluter-Ditra can sometimes make tiles sound hollow when tapped. This often happens if there are voids or areas with incomplete bonding underneath. However, a hollow sound by itself isn’t necessarily a problem – unless it’s paired with visible issues like loose tiles or cracking grout.
If you notice a hollow sound that could indicate bonding issues, loose tiles, or visible damage, it’s time to call a professional. Structural problems, like noticeable movement or issues with the substrate, also need expert evaluation. DIY fixes, such as epoxy injections, might not always solve the problem, and if they’ve failed or seem unlikely to work, professional replacement is often the best route. This approach ensures the issue is properly diagnosed, prevents further damage, and addresses any safety risks.