New! DIY Project Planner. Plan smarter, skip the spreadsheets. Start Your Free Trial Today →

Smart DIY & Home Improvement Tips
Smart DIY & Home Improvement Tips
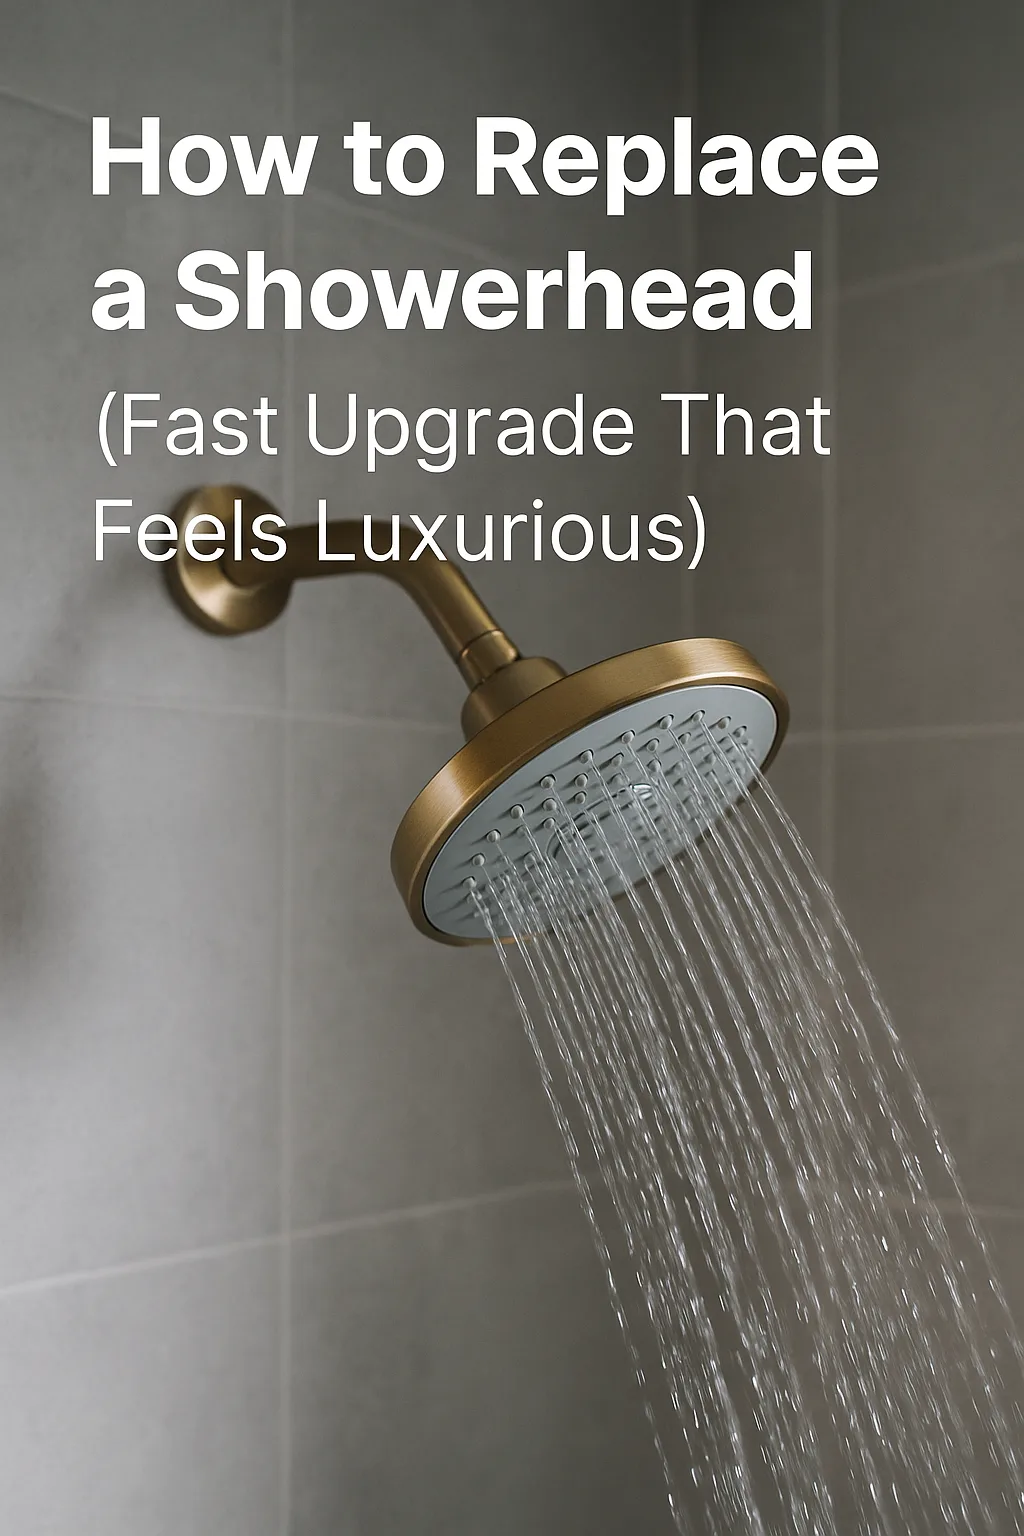
If you’re still using the basic showerhead that came with your house or apartment, you’re missing out. Swapping in a better one is one of the easiest DIY upgrades you can make—and it can turn your daily rinse into a mini spa experience. Even better? It usually takes under 15 minutes and requires no special tools.
Let’s break down how to replace a showerhead the right way, what features to look for, and which models are actually worth buying.
Heads up! This post may contain affiliate links. That means we may earn a small commission if you buy through our links—at no extra cost to you. We only recommend tools and gear we genuinely trust for DIY projects. Thanks for supporting Gold Team Home—it helps us keep the free guides coming!
Besides the fact that builder-grade showerheads are boring (and usually weak), here’s why it’s worth upgrading:
A good showerhead is one of those subtle upgrades that adds comfort and resale appeal.
Optional: toothbrush or scrub brush to clean the shower arm threads before installing.
✅ Best All-Around Upgrade: Aqua Elegante High-Pressure Showerhead
Great balance of pressure, durability, and spray settings.
✅ Luxury Rainfall Feel: Moen Velocity Two-Function Rainshower
Big coverage with a spa-like flow. Stylish design.
✅ Best for Low Water Pressure: Speakman Anystream Icon
Engineered to boost water pressure even in older homes.
✅ Handheld Option: Waterpik High-Pressure PowerPulse Massage
Perfect for rinsing, pets, and hard-to-reach spots.
Replacing your showerhead is the perfect mix of low effort and high reward. It makes a noticeable difference every single day, costs very little, and gives your bathroom a subtle upgrade that feels personal.
Want more easy upgrades? Check out our full list of fast DIY projects for new homeowners that actually make your space feel like home.