New! DIY Project Planner. Plan smarter, skip the spreadsheets. Start Your Free Trial Today →

Smart DIY & Home Improvement Tips
Smart DIY & Home Improvement Tips
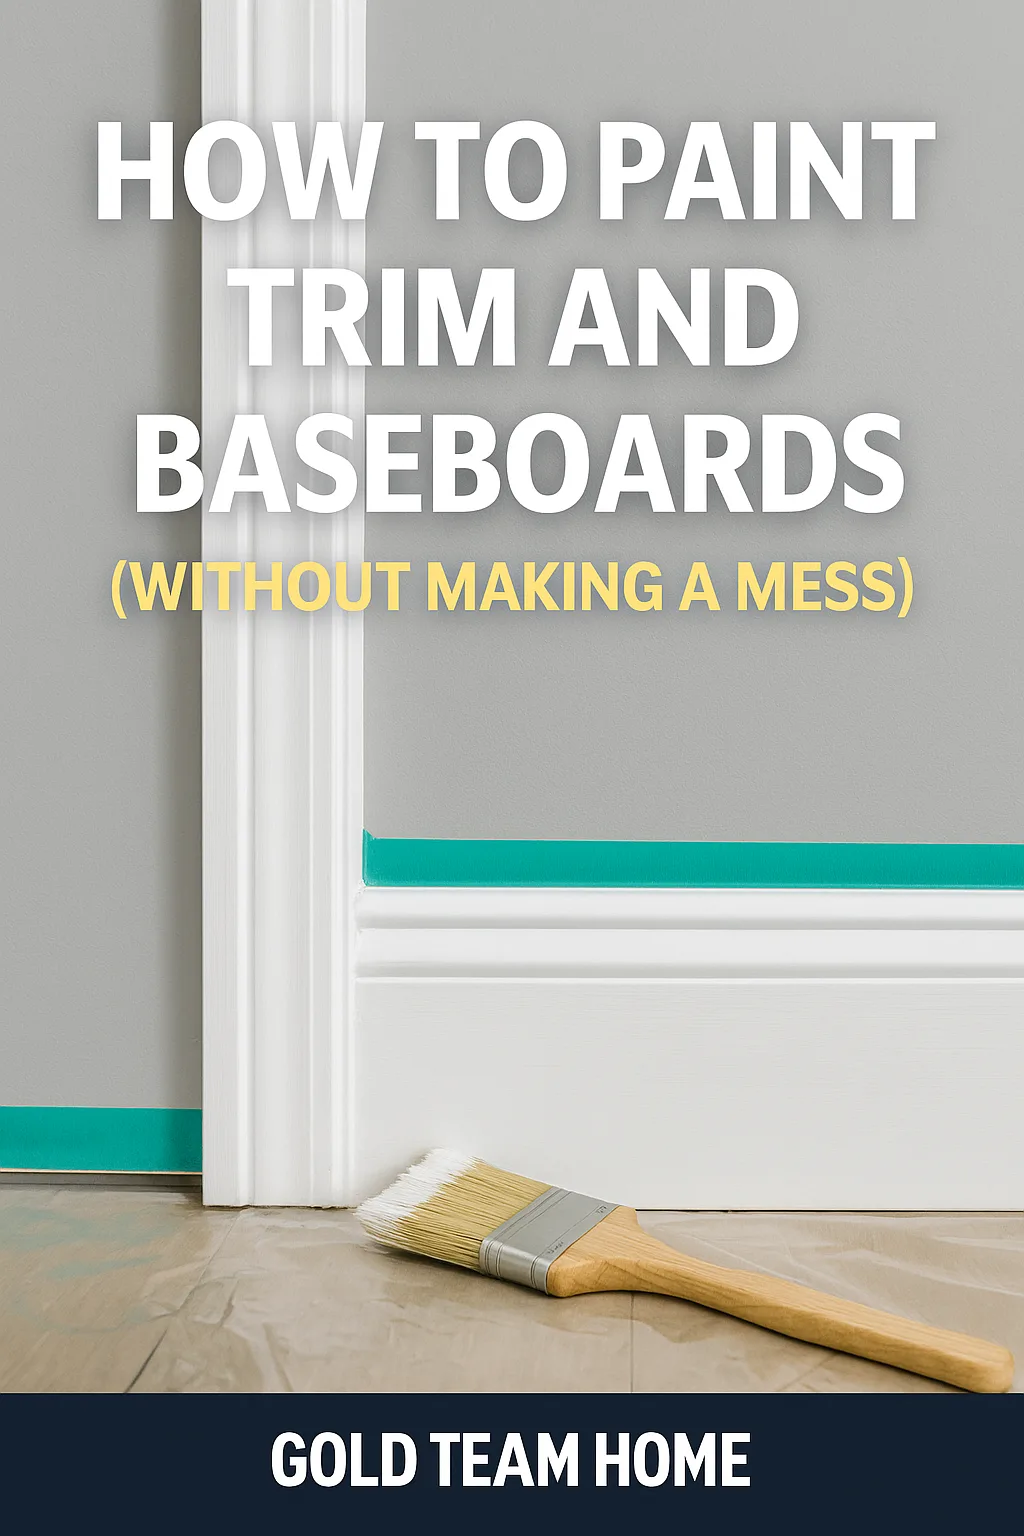
Painting your walls is one thing. Painting trim and baseboards? That’s where things get tricky. If you’ve ever ended up with brush marks, wall smudges, or paint on your floors, this guide is for you.
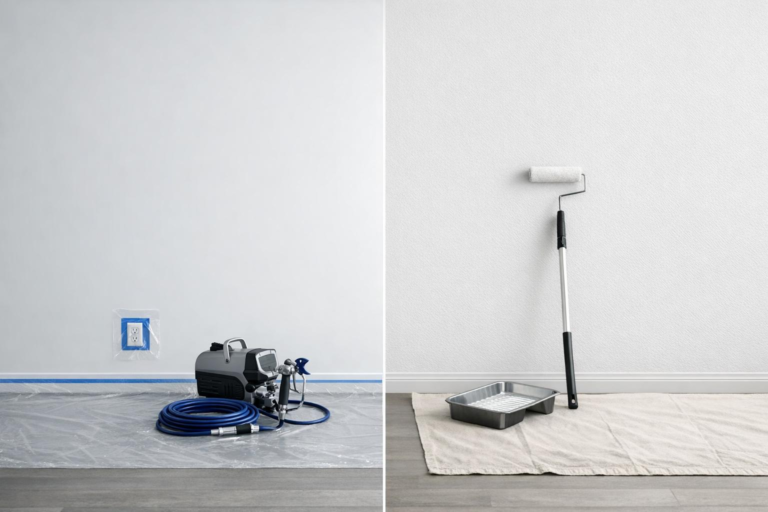
Here’s how to paint trim and baseboards cleanly, quickly, and confidently—whether you’re refreshing old wood or updating after a flooring install. No guesswork. No mess.
Heads up! This post contains affiliate links. That means we may earn a small commission if you buy through our links—at no extra cost to you. We only recommend products we’d use ourselves. Thanks for supporting Gold Team Home—it helps keep the DIY guides free.
Wipe down all trim with a damp cloth to remove dust, oils, and debris. If the trim is older or grimy, use a gentle degreaser. Let it dry completely before sanding.
If you see dents or nail holes, fill them with spackle using a putty knife. Let it dry, then lightly sand smooth.
Use a sanding sponge or fine sandpaper (180–220 grit) to scuff the surface. This helps the paint stick better. You don’t need to strip the finish—just knock down the sheen. Vacuum or wipe down the trim afterward to remove all dust.
Tape off the wall just above the trim, and if needed, tape off the floor or use a trim guard. Press tape edges down firmly to prevent bleed-through. Don’t skip this—good prep saves cleanup later.
✅ Pro tip: Use delicate-surface painter’s tape for newly painted walls.
If your trim is bare wood, stained, or patched, apply a stain-blocking primer. This ensures even coverage and helps the paint last. If your trim is already painted and in decent shape, you can skip this step.
Use a high-quality angled brush and work in long, smooth strokes. Start in corners or detailed areas first, then move to the longer runs. Avoid over-brushing—let the paint level itself.
Work in sections and don’t overload your brush.
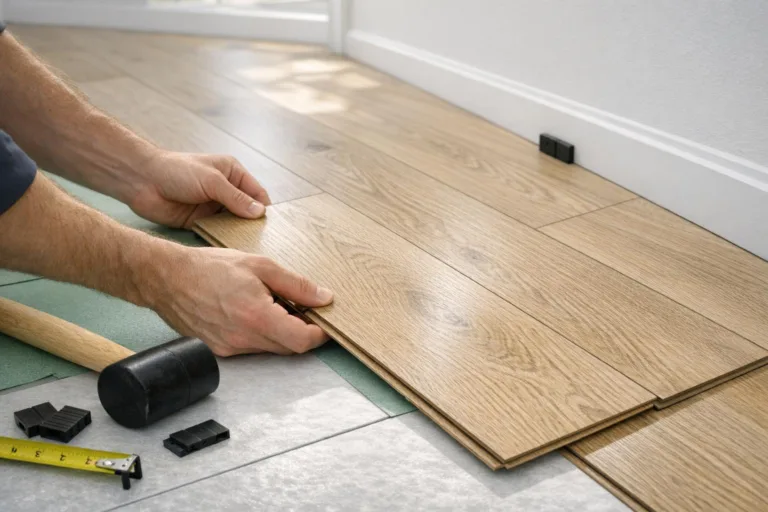
Here’s a post that’s been helping a lot of DIYers: a breakdown of how to cover flooring gaps: trim, quarter round, and transition tips you’ll actually use.”
Pull the painter’s tape off while the paint is still slightly wet. This gives you a cleaner line and prevents the tape from pulling up dried paint. Peel back at a 45-degree angle for best results.
Trim paint may feel dry in a few hours, but it takes days to fully cure. Avoid scrubbing or taping over fresh paint for at least 5–7 days. Ventilate the room to speed things up.
Want to make your walls look just as good? Check out our How to Paint a Room Like a Pro guide for clean lines, even coverage, and stress-free setup.
And if you’re just getting started, don’t miss our DIY Skills Every Beginner Should Know post—it’s a fast-track for first-time homeowners.