New! DIY Project Planner. Plan smarter, skip the spreadsheets. Start Your Free Trial Today →

A beginner-friendly guide for clean, crisp results.
Pro Tip: Use a roller with an extension pole to avoid ladder fatigue and get smoother strokes on ceilings.
Use quality painter’s tape — it makes a big difference on trim lines.
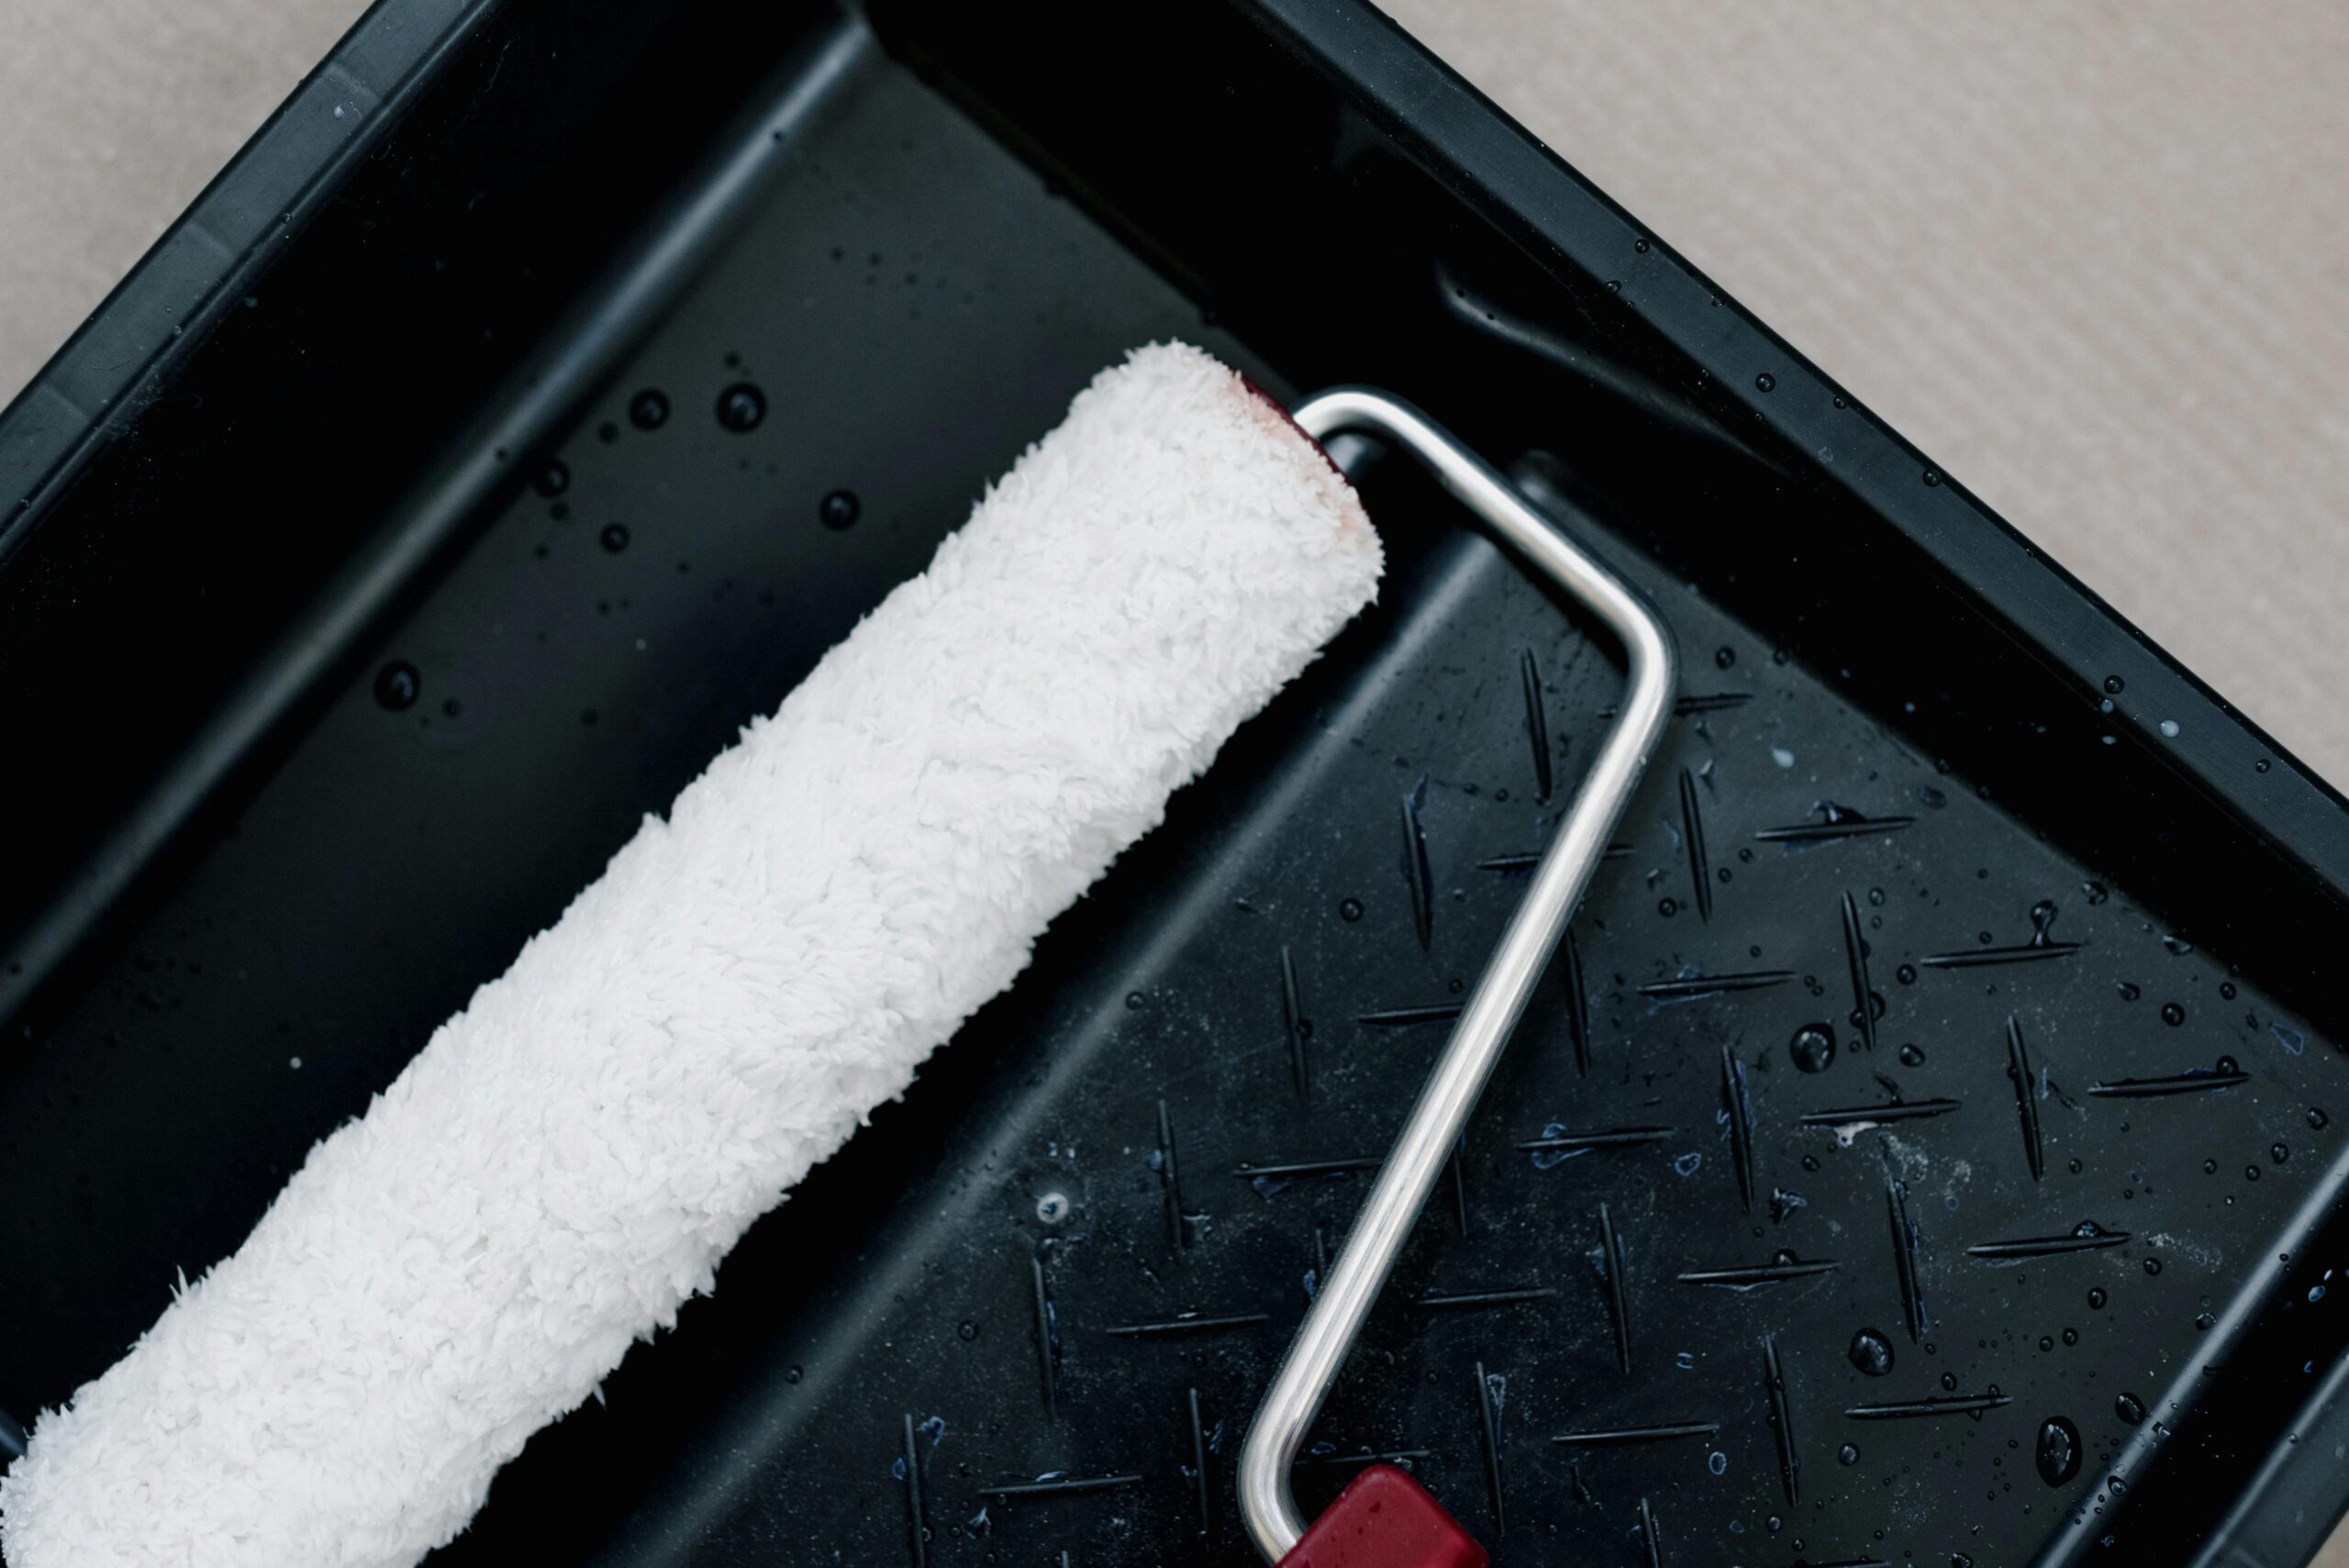
Don’t overload the roller — dip halfway and roll off excess.
Work in natural light when possible for best visibility.
Already mastered wall and trim? Use those same techniques to upgrade your cabinets — no demo required. Check out our Cabinet Revamp Guide to refresh your kitchen on a budget.
Keep the momentum going! Explore more step-by-step DIY guides to upgrade your home with confidence — no experience required.
Looking for the right gear? These are our go-to painting tools trusted by pros and beginners alike.
Join our free DIY email list and get weekly tips, tools, and guides to tackle your next home project like a pro. No spam, just real help.