Fixing Drywall Mistakes: Holes, Anchors, and Cracks That Keep Coming Back
When Your Wall Fights Back
You hung the shelf. You patched the hole. You painted over the crack. And a few weeks later… it’s all back like nothing happened. If you’ve been trying to fix drywall mistakes but keep ending up in the same spot, the problem isn’t your luck, it’s the method. Whether it’s an anchor that won’t hold or a crack that keeps reappearing, these are the most common drywall problems and how to fix them so they actually stay fixed.
Affiliate Disclosure: Some of the links below are affiliate links, which means we may earn a small commission if you choose to buy through them, at no extra cost to you. This helps keep Gold Team Home running so we can keep sharing DIY tips and guides. Thanks for your support!
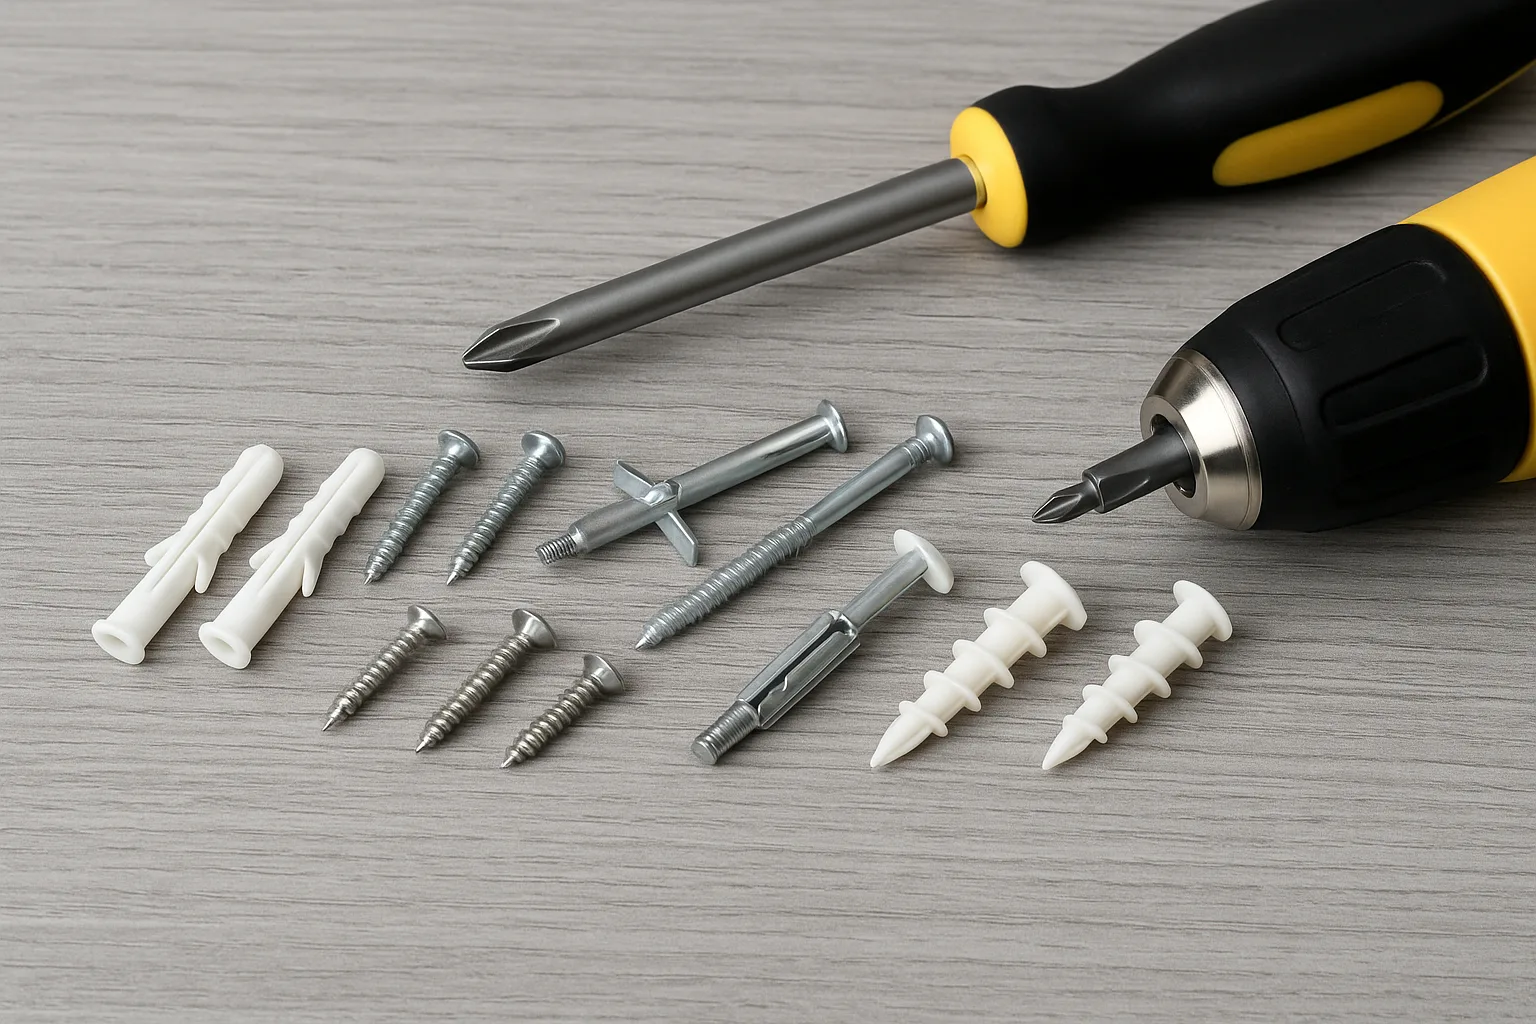
1. Overdrilled or Wobbly Wall Anchors
The mistake:
Anchors work by gripping the drywall. If the hole is too big or the drywall is crumbly, the anchor spins in place or just falls out.
The fix:
- Pro fix: Fill the oversized hole with setting-type joint compound like DAP Wall Repair Patch Kit. Let it cure, then redrill at the proper size for your anchor.
- Beginner workaround: Use a larger toggle-style anchor like the TOGGLER Snaptoggle, which can grab behind the drywall even in weak spots.
Related guide: What Size Wall Anchors to Use, avoid the guesswork entirely.
What Size Wall Anchors to Use — No More Guesswork
Stop guessing and start hanging things right. Learn exactly what size wall anchors you need for shelves, TVs, mirrors, and more — plus pro tips to keep them from pulling out.
2. Nail Pops That Return After Every Patch
The mistake:
Nail pops happen when framing shifts or nails loosen. Simply covering them with compound doesn’t solve the problem, the nail moves again, pushing through.
The fix:
- Pro fix: Remove the nail, drive a drywall screw into the stud 1–2″ away, then set the screw head slightly below the surface. Fill and sand.
- Beginner workaround: Drive the existing nail deeper, then add a screw nearby for extra hold before patching.
Related guide: How to Patch Nail Pops & Drywall Cracks
How to Patch Nail Pops and Drywall Cracks (The Right Way)
Learn how to patch nail pops and drywall cracks the right way with this beginner-friendly guide. Step-by-step instructions, tools you need, and pro tips to avoid mistakes.
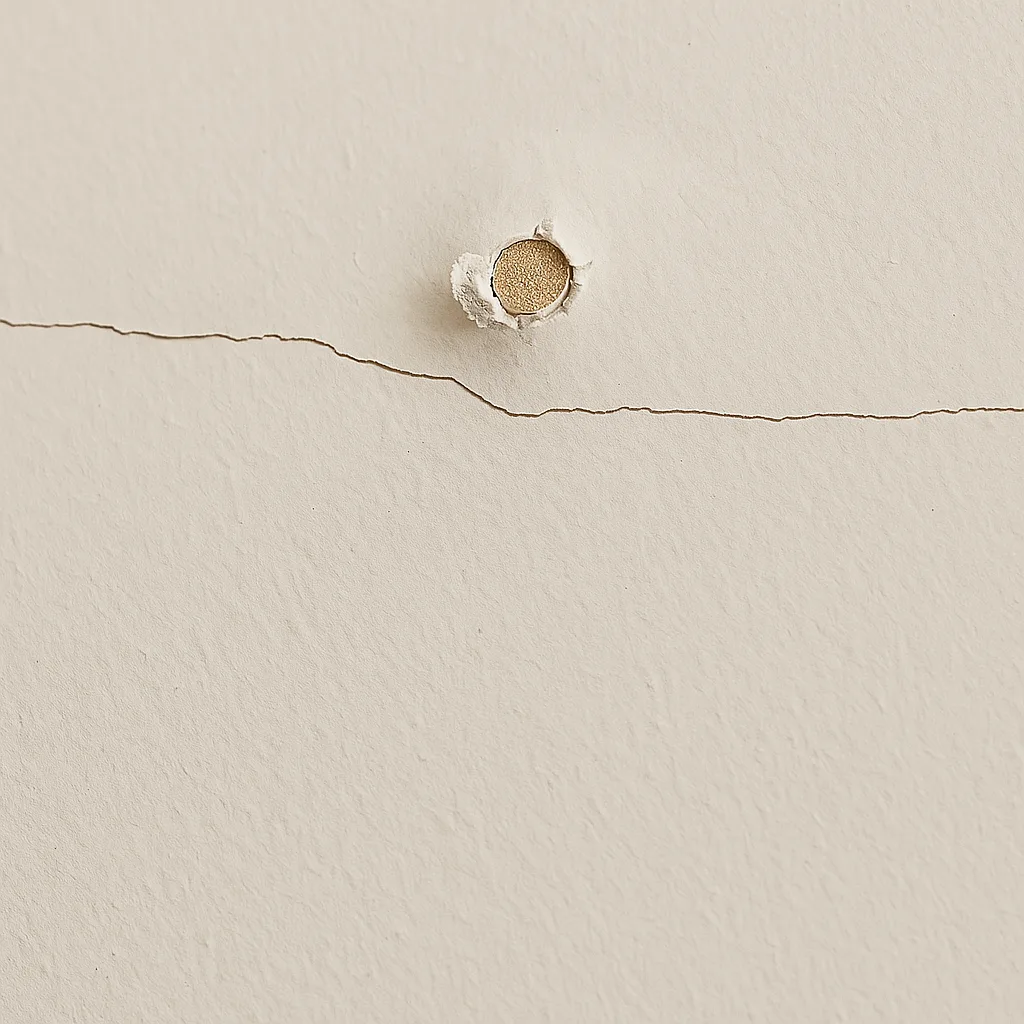
3. Cracks That Keep Coming Back
The mistake:
Hairline cracks at seams, corners, or above doors are usually from movement. If you just fill them, they’ll split open again.
The fix:
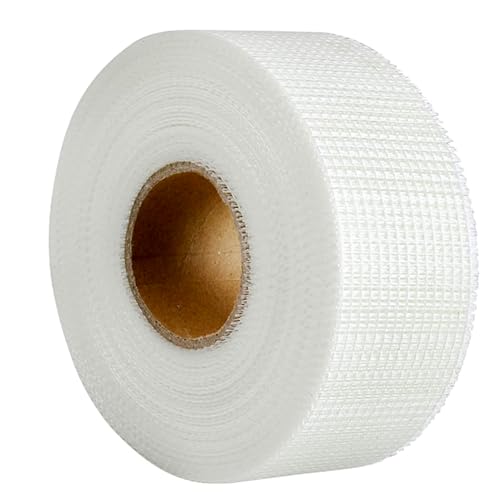
- Pro fix: Apply mesh tape over the crack before mudding to bridge the joint. Feather it out over 6–8″ for strength.
- Beginner workaround: Use a Self-Adhesive Drywall Repair Patch to reinforce without fully retaping.
Pro tip: Use setting compound (hot mud) for high-movement areas, it’s harder but resists cracking better than premixed mud.
4. Lumpy or Sunken Patches
The mistake:
Too much mud in one coat can shrink and leave a dent. Skipping sanding can leave a visible hump.
The fix:
- Pro fix: Build patches in thin coats, letting each dry fully before adding the next. Sand between coats with a fine sanding sponge.
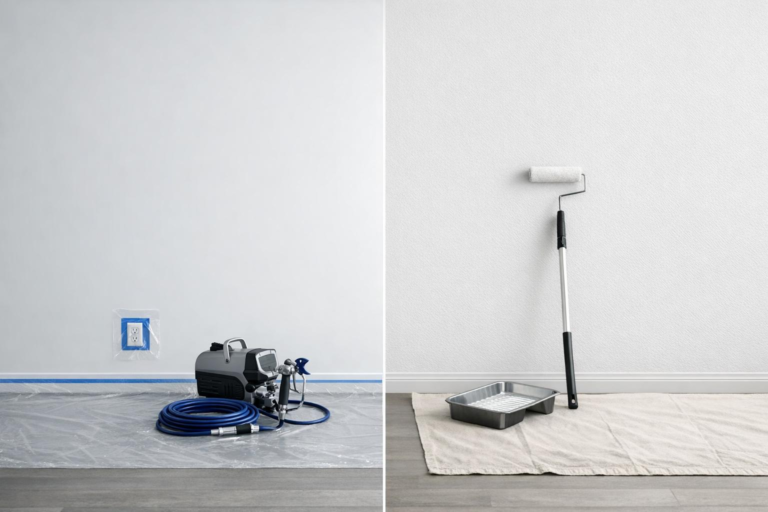
- Beginner workaround: If the spot is already lumpy, sand it flush, apply one thin coat, feather edges, then repaint the entire wall section for blending.
Tool rec: 3M Large Area Sanding Sponge flexible for both flat and corner work.
5. Bad Tape Jobs
The mistake:
Bubbles in tape or peeling seams usually happen when tape isn’t embedded properly in the mud.
The fix:
- Pro fix: Cut away the bad section, apply fresh compound, embed new tape, and feather the edges.
- Beginner workaround: If it’s a short seam, use a Pre-Pasted Drywall Patch Tape to simplify the process.
6. Over-Sanding the Repair
The mistake:
Aggressive sanding can damage surrounding paper, creating more fuzzy edges to patch.
The fix:
- Pro fix: Use light pressure and keep the sanding block flat over the patch. Stop as soon as it’s flush.
- Beginner workaround: Switch to a fine grit (220) to avoid tearing the paper face.
Your Drywall Repair Toolkit
For smoother, faster fixes, keep these on hand:
We earn a commission if you make a purchase, at no additional cost to you.
We earn a commission if you make a purchase, at no additional cost to you.
We earn a commission if you make a purchase, at no additional cost to you.
We earn a commission if you make a purchase, at no additional cost to you.
We earn a commission if you make a purchase, at no additional cost to you.
Related post: Top 10 Tools That Make Home Projects Actually Easier
Best DIY Tools for Homeowners (Top 10 That Actually Help)
These are the best DIY tools for homeowners who want projects to go smoother. Trusted picks, simple wins, and tools you’ll use constantly.
Key Takeaways
- Always address the cause, not just the surface damage.
- Use the right compound and reinforcement for lasting results.
- Small repairs are easier if you keep a basic drywall kit at home.
Always address the cause, not just the surface damage, otherwise the problem will return.
Use the right compound and reinforcement for lasting results. Setting-type joint compound and mesh tape are worth the extra effort.
Keep a basic drywall repair kit at home: putty knife, sanding sponge, mesh tape, and patch materials.
Reinforce recurring cracks or loose anchors rather than simply covering them.
Build up patches in thin, smooth layers to avoid lumps, dents, or shrinking.
Match your repair method to the damage type: nail pops, overdrilled holes, and seam cracks each require different fixes.
Sand gently and evenly to avoid damaging surrounding drywall paper.
Don’t rush the process. A well-done repair lasts far longer than multiple quick fixes.
Get organized before you start. Use the DIY Project Planner to track every step.