New! DIY Project Planner. Plan smarter, skip the spreadsheets. Start Your Free Trial Today →

Smart DIY & Home Improvement Tips
Smart DIY & Home Improvement Tips
Drywall Patching Guide: How to Repair Holes, Cracks, and Dents Like a Pro
Use lightweight spackle for small holes — it dries fast and sands easily.
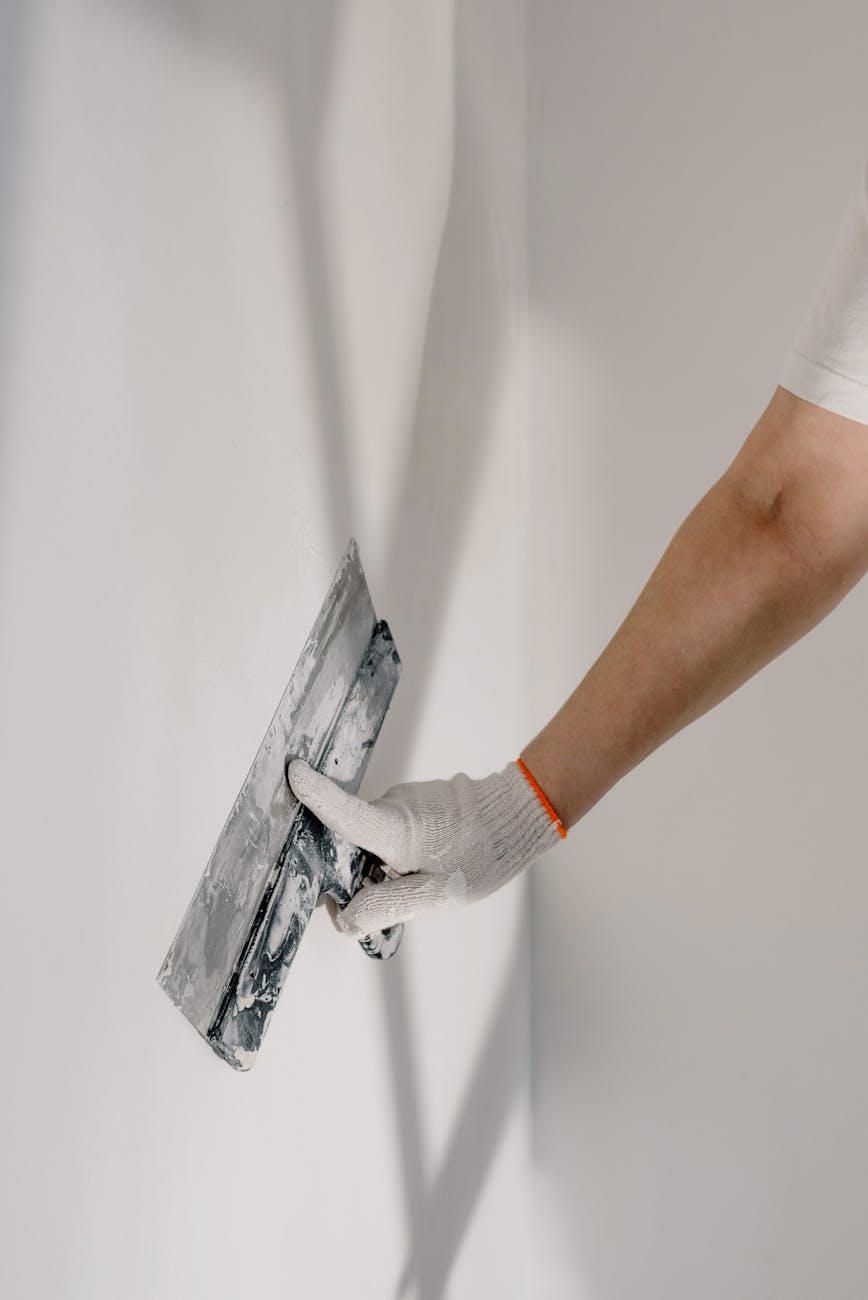
Feather the edges of your compound to blend the patch into the wall.
Don’t over-sand — too much pressure can damage the area around the patch.
Test paint match first on a hidden area or scrap drywall if you’re unsure.
Prime before painting to avoid flashing (visible dull spots)
Now that you’ve patched like a pro, give your walls the upgrade they deserve. Our Painting Guide walks you through flawless finishes step-by-step.
Whether you’re ready to paint, lay flooring, or install shelving, we’ve got step-by-step DIY guides to take you all the way from patch to polish.
These beginner-friendly picks make drywall patching easier, cleaner, and faster — and they’re what we reach for ourselves.
Join our free DIY email list and get weekly tips, tools, and guides to tackle your next home project like a pro. No spam, just real help.