New! DIY Project Planner. Plan smarter, skip the spreadsheets. Start Your Free Trial Today →

Smart DIY & Home Improvement Tips
Smart DIY & Home Improvement Tips
If your light switch or outlet is loose, outdated, or not working — don’t call an electrician just yet. This guide walks you through how to safely replace it yourself, step by step.
Tools
Materials
Just a heads up: Some of the links below are affiliate links, which means we may earn a small commission if you buy through them (at no extra cost to you). We only recommend gear we trust — thanks for your support!
Go to your breaker box and shut off the power to the outlet or switch you’re replacing.
Tip: Touch the tester to each terminal screw and wire — if it stays silent, you’re good.
Take a clear photo of the wires before disconnecting anything. This is your wiring backup.
Look for these three types of wires:
Gently unscrew or release the wires:
Check the wire ends:
Use your photo as a guide and follow this layout:
For a standard light switch:
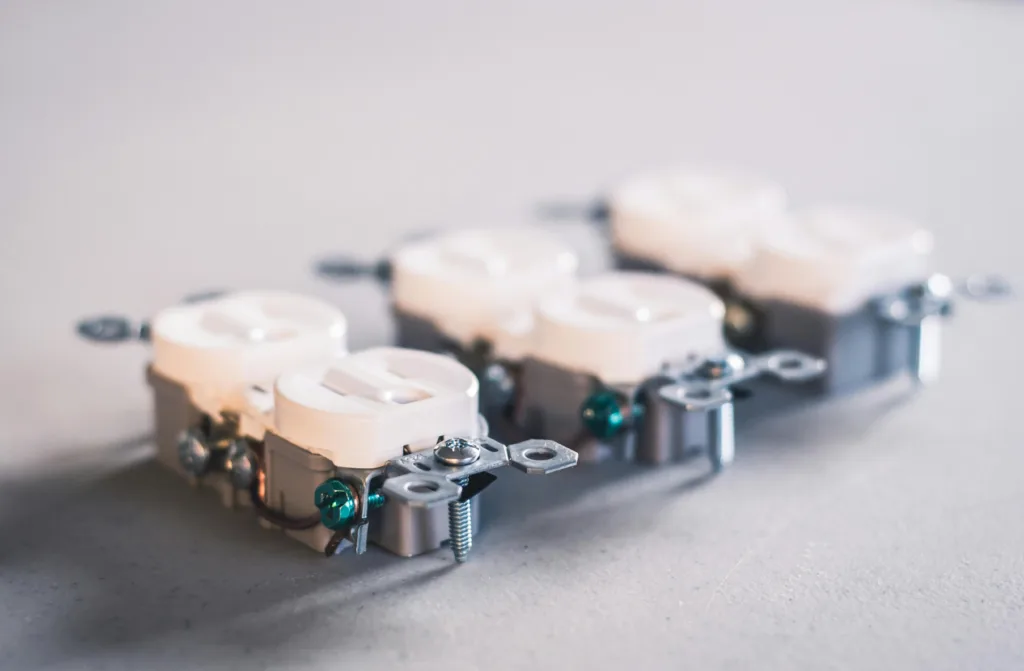
For a standard outlet:
Always wrap wires clockwise around terminal screws — so tightening secures them in place.
⚠️ Don’t overtighten — it can crack the plate or warp the device.
Check that the faceplate sits flush and nothing wiggles
Flip the breaker back on
Test the switch or plug in a lamp to confirm power is flowing
Swapping a light switch or outlet is just the beginning. Browse our DIY guide library for more ways to brighten up your home—safely, confidently, and affordably.
✅ Pro Tips for Replacing a Switch or Outlet
- Label the breaker before starting — it saves confusion later (and helps next time).
- Take a photo of the wiring layout before disconnecting anything. This step alone prevents most beginner mistakes.
- Use a headlamp or portable light — since the power will be off, visibility can be tough.
- Use the screws, not push-in terminals, for a better, longer-lasting connection.
- Wrap electrical tape around terminal screws after wiring for an extra layer of safety (especially in older boxes).
- If the outlet or switch wobbles, use wall plate spacers to keep it flush and tight.
❌ Mistakes to Avoid
Mixing up a 3-way switch — If you see 3 or more wires connected to the switch, stop and double-check the wiring type before replacing.
Not verifying power is off — Always use a non-contact tester before touching any wires.
Mismatching wire placement — Even one wrong terminal can cause a short or make the outlet unsafe. That’s why the photo is key.
Cutting wires too short — If you do, use wire extenders or pigtails to make up the length.
Overtightening faceplate screws — This can crack the plastic or cause the outlet to sit unevenly.
Swap that old fixture safely with these must-have tools and materials:
Don’t guess. Grab the go-to tools we recommend for any home project. Reliable, beginner-safe, and worth every penny.
Join our free DIY email list and get weekly tips, tools, and guides to tackle your next home project like a pro. No spam, just real help.