New! DIY Project Planner. Plan smarter, skip the spreadsheets. Start Your Free Trial Today →

Smart DIY & Home Improvement Tips
Smart DIY & Home Improvement Tips
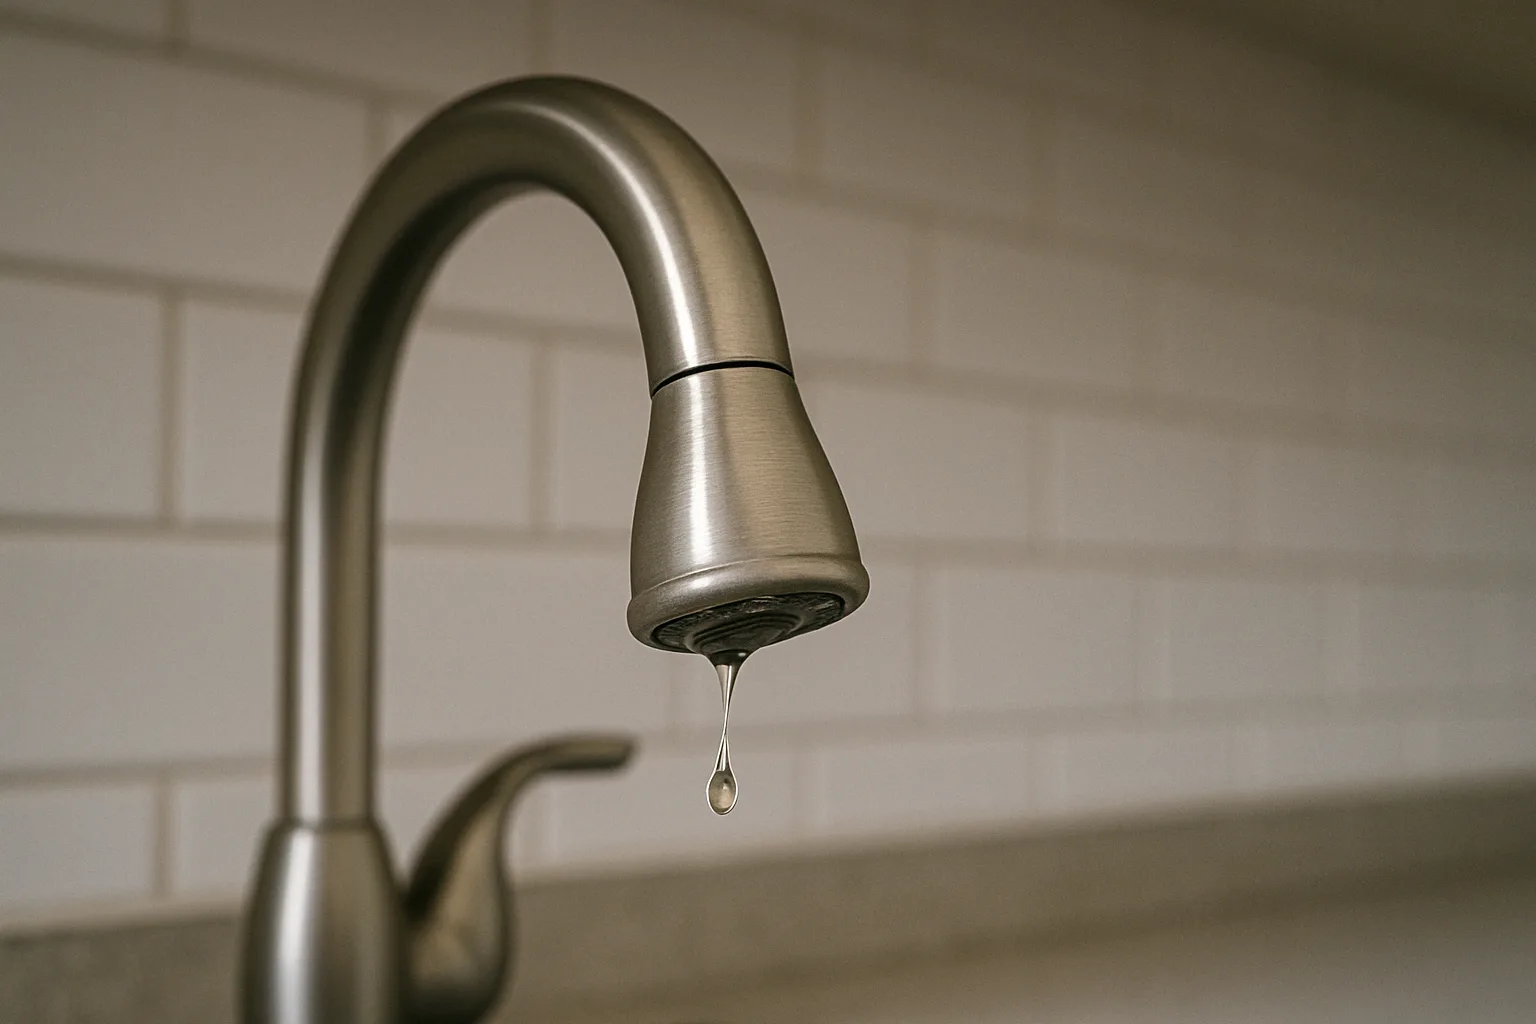
Got a dripping faucet driving you nuts? This step-by-step guide will help you stop the leak, replace worn-out parts, and get your sink working like new—all without calling a plumber.
💡 Tip: Use your faucet’s brand name and model (if visible) to get the right replacement parts. Most leaks are due to worn washers or O-rings.
Step 1: Turn Off the Water
Look under the sink for shutoff valves.
Turn both hot and cold water valves clockwise until they’re fully closed.
Open the faucet to release any remaining water and pressure.
Step 2: Plug the Drain
Use a sink plug or rag to block the drain.
This prevents screws or small parts from falling in.
Step 3: Remove the Faucet Handle
Use a flathead screwdriver to gently pry off the decorative cap.
Unscrew the handle using a Phillips screwdriver.
Carefully lift the handle off and set it aside.
Step 4: Loosen the Packing Nut
Use your adjustable wrench to loosen and remove the packing nut beneath the handle.
Be gentle—don’t force it if it’s stuck.
Step 5: Pull Out the Stem/Cartridge
Once the packing nut is off, you’ll see the stem or cartridge (depending on the faucet type).
Pull it straight out. It may need a little wiggle.
Step 6: Inspect and Replace Washers/O-Rings
Look for worn, cracked, or flattened rubber washers or O-rings.
Match them with your replacements.
Apply a dab of plumber’s grease before installing new ones.
Step 7: Reassemble the Faucet
Slide the stem or cartridge back into place.
Tighten the packing nut with your wrench.
Reattach the handle and screw it back on.
Snap the decorative cap back in place.
Step 8: Turn Water Back On
Slowly turn both water valves back on.
Check for leaks while the water is running and after turning it off.
If the leak persists, the cartridge or valve seat may be worn—both are still replaceable DIY parts.
Bring the removed parts to the hardware store to get exact replacements.
Take photos during disassembly to remember the order.
Your faucet’s good as new—why stop there? Learn how to handle small leaks, clogs, and upgrades with our beginner-friendly plumbing tips.
Try our DIY Guides for plumbing must-haves.
Need help solving other home issues? Our Project Playbook blog is packed with smart solutions, practical upgrades, and time-saving tips for every part of your home.
These simple tools make fixing a leaky faucet fast, easy, and frustration-free. Keep them in your DIY kit for future plumbing fixes.
Join our free DIY email list and get weekly tips, tools, and guides to tackle your next home project like a pro. No spam, just real help.