New! DIY Project Planner. Plan smarter, skip the spreadsheets. Start Your Free Trial Today →

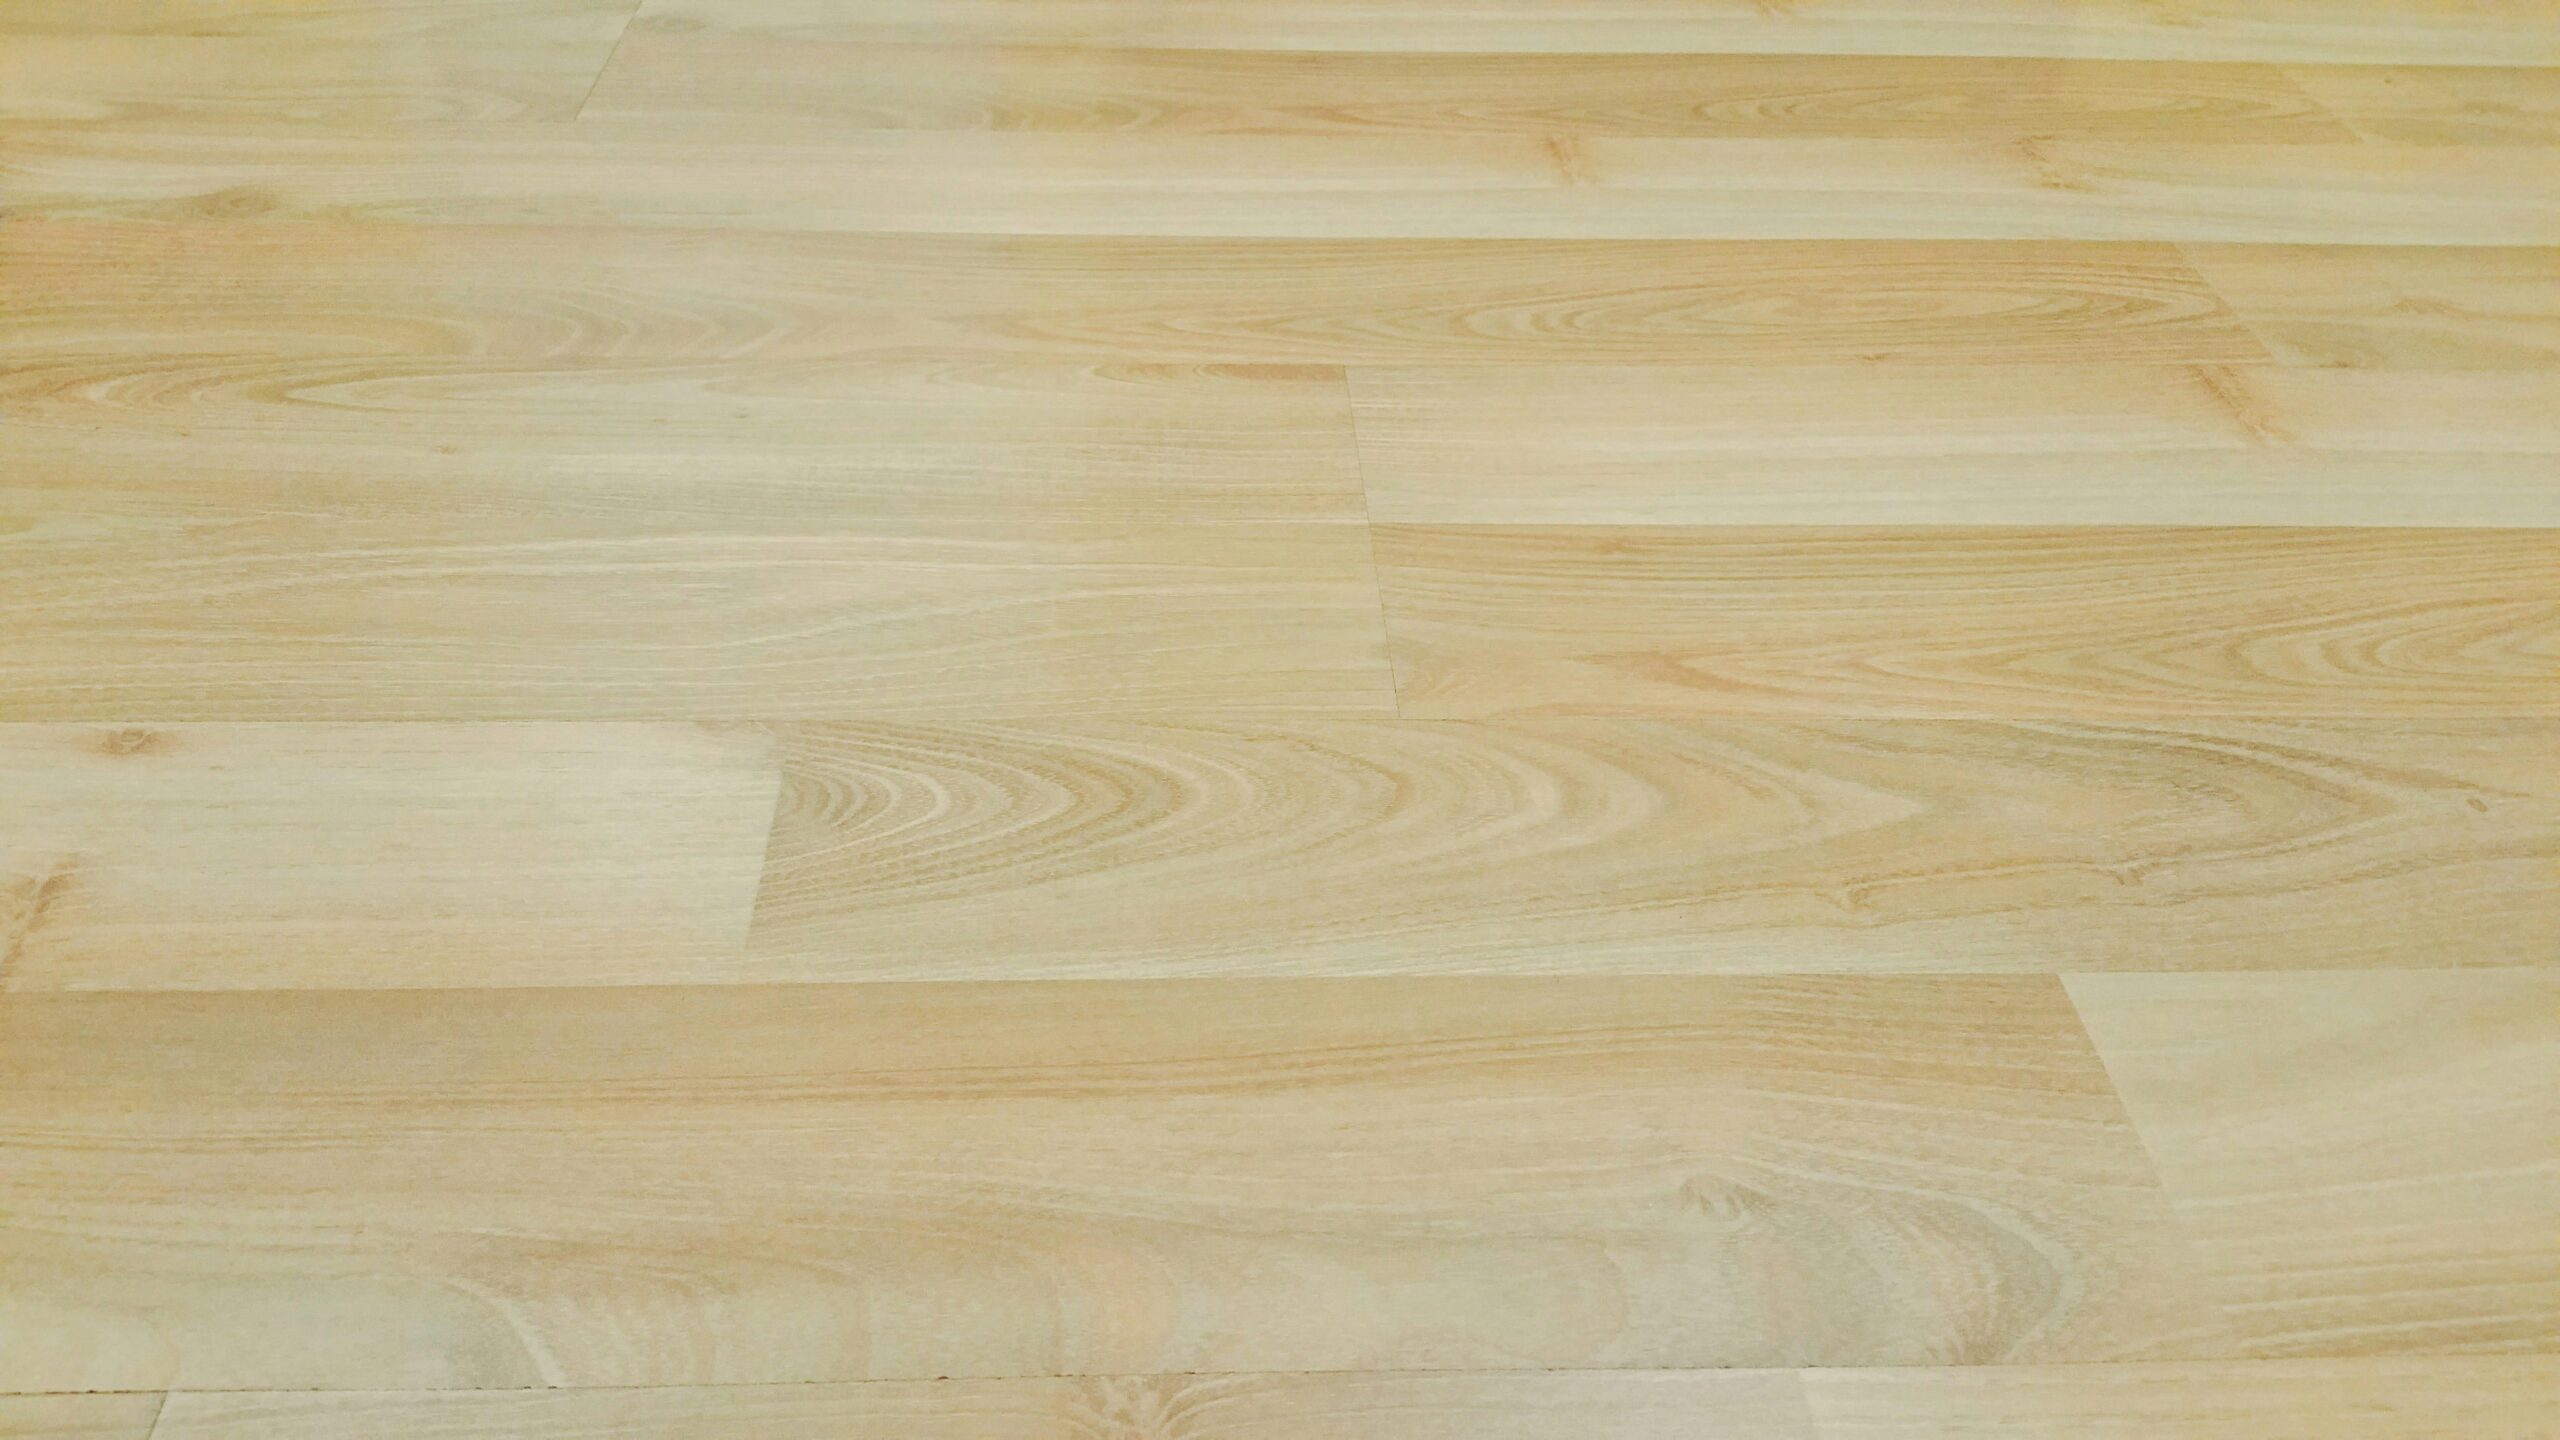
A beginner-friendly guide to install laminate flooring that looks great and lasts.
Let planks acclimate for 48 hours in the room to prevent warping.
Always use spacers to leave a 1/4” expansion gap around all walls.
Mix planks from different boxes to blend color and grain variations naturally.
Use a tapping block and pull bar to protect edges while fitting planks snugly.
Sweep as you go to avoid debris getting under the flooring.
New floors are a great start — now bring the rest of your space up to speed. Try jour Painting Guide for crisp, clean walls or upgrade your cabinet with our Revamp Guide.
Installing laminate flooring is just the start. Explore more beginner-friendly guides and start transforming your home one project at a time.
These are our go-to tools for laminate installs — durable, easy to use, and beginner-friendly.
Join our free DIY email list and get weekly tips, tools, and guides to tackle your next home project like a pro. No spam, just real help.