New! DIY Project Planner. Plan smarter, skip the spreadsheets. Start Your Free Trial Today →

It’s that time of year: the snow’s gone, the hose is out… and your driveway is showing signs it needs concrete crack repair.
The good news? Most small cracks are easy to fix—and this DIY-friendly guide walks you through the tools, fillers, and best practices to do it right.
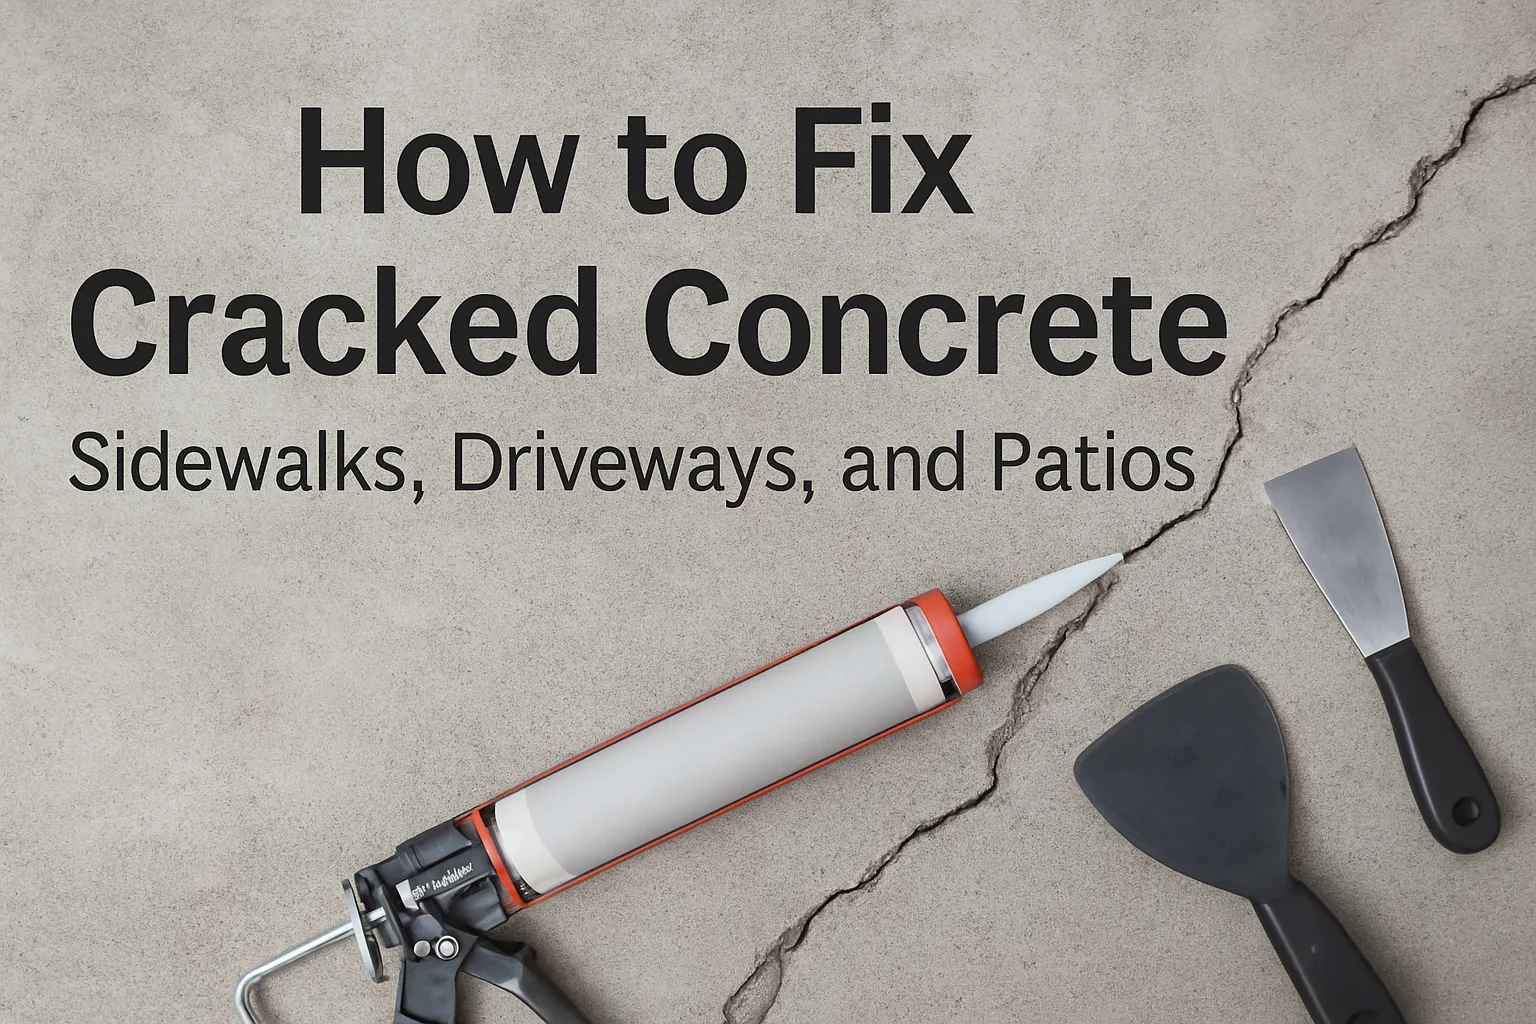
Cracks that are under ½” wide and not actively lifting are prime DIY candidates for concrete crack repair.
Start by removing dirt, debris, and any loose concrete.
You’ll need:
We like the Wire Brush Set and RIDGID 12 Gal Shop Vac for driveway cleanup.
For narrow hairline cracks, use a cold chisel and hammer to open up the crack slightly. This helps the filler bond better.
Pro tip: aim for a shape that’s wider at the bottom than the top (called an “inverted V”).
There are two main types:
We use Sikaflex Self-Leveling Sealant for fine cracks—it flows easy and bonds strong.
Dap Ready-Mix Concrete Patch and Quikrete Vinyl Concrete Patch are solid go-tos.
When you’re filling deep or wide concrete cracks, backer rod is essential. It helps control caulk depth, prevents three-sided adhesion, and gives your sealant the flexibility it needs to last. Without it, caulk can sag or crack — especially in larger joints.
Smooth the filler with a putty knife or margin trowel. Follow the manufacturer’s dry time—usually 2–8 hours before foot traffic, 24+ hours for vehicles.
If you want extra protection, use a concrete sealer after the patch has cured. This helps keep water out and prevents future cracking.
We recommend Foundation Armor AR350 Sealer—it’s clear, easy to apply, and enhances color too.
With the right tools and materials, you can knock out concrete crack repair in a single afternoon. It’s one of the easiest ways to preserve your curb appeal—and avoid bigger fixes down the line.
Before you call a pro, here are more simple DIY fixes that you can actually tackle yourself.