
It’s that time of year: the snow’s gone, the hose is out… and your driveway is showing signs it needs concrete crack repair.
The good news? Most small cracks are easy to fix—and this DIY-friendly guide walks you through the tools, fillers, and best practices to do it right.
What Causes Concrete Cracks?
- Freeze/thaw cycles — moisture expands and contracts
- Poor drainage — water pools under the slab
- Shifting soil or tree roots
- Time and traffic — it just happens
Cracks that are under ½” wide and not actively lifting are prime DIY candidates for concrete crack repair.
🔨 Step-by-Step Concrete Crack Repair (DIY-Friendly)
Step 1: Clean the Crack
Start by removing dirt, debris, and any loose concrete.
You’ll need:
- Wire brush or stiff broom
- Shop vac or leaf blower
- Optional: pressure washer for deep prep
We like the Wire Brush Set and RIDGID 12 Gal Shop Vac for driveway cleanup.
Step 2: Widen & Shape (If Needed)
For narrow hairline cracks, use a cold chisel and hammer to open up the crack slightly. This helps the filler bond better.
Pro tip: aim for a shape that’s wider at the bottom than the top (called an “inverted V”).
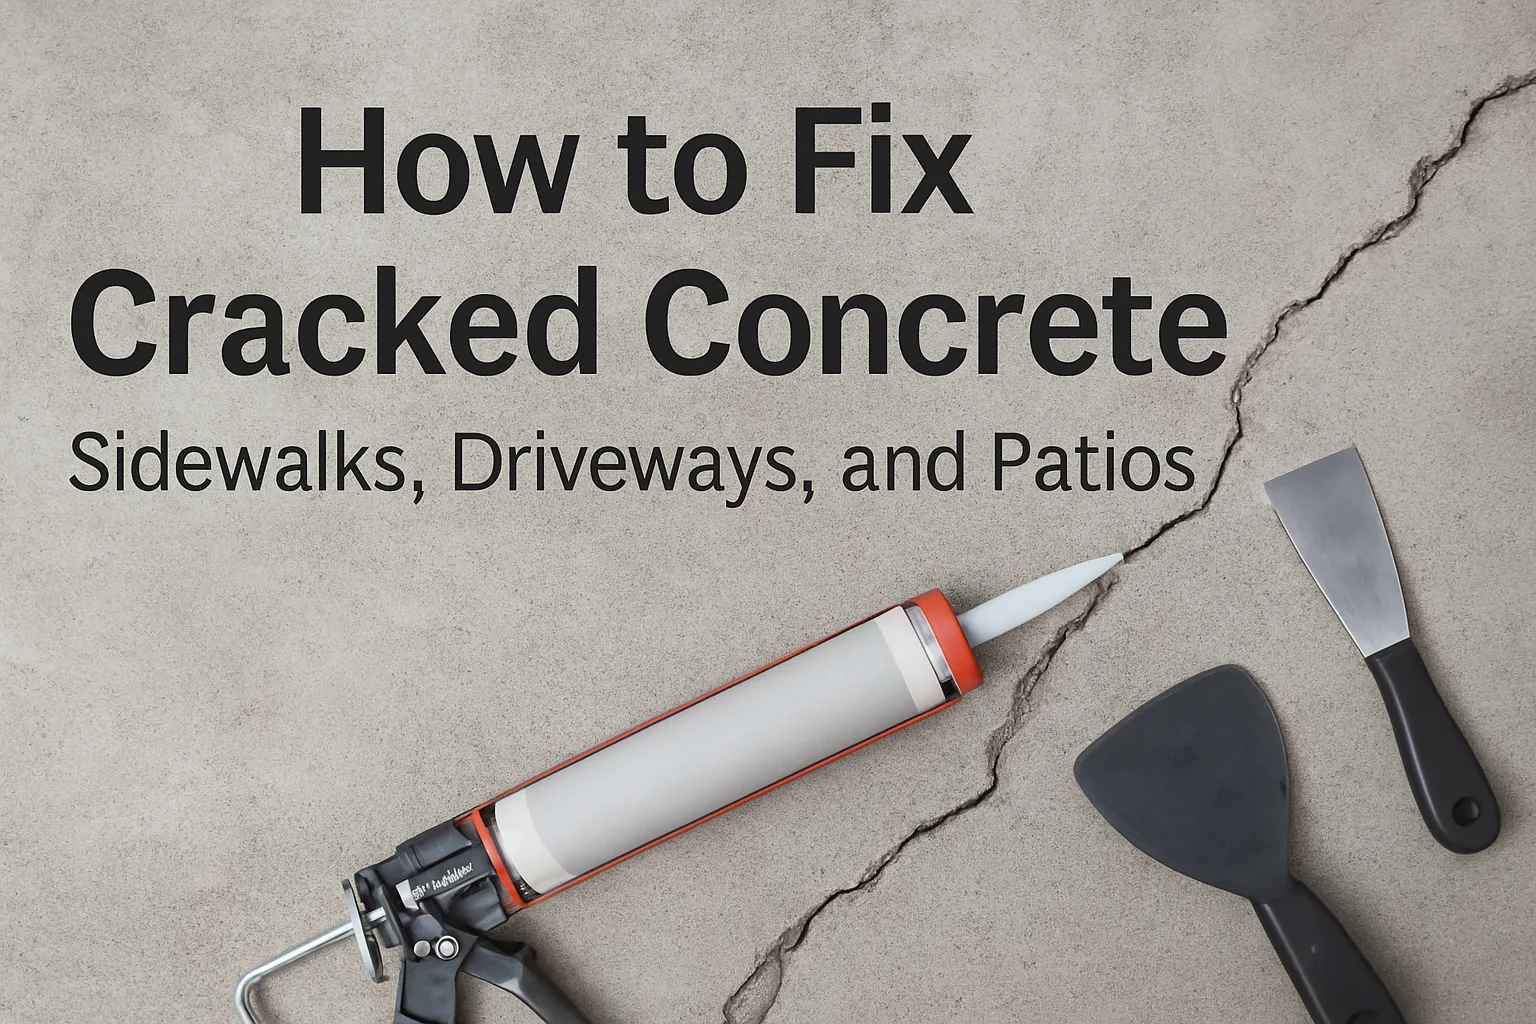
Step 3: Apply Crack Filler or Patch
There are two main types:
🧴 Liquid Crack Filler (For ¼” or smaller)
- Comes in squeeze bottles or cartridges
- Self-leveling, flexible, great for hairlines
We use Sikaflex Self-Leveling Sealant for fine cracks—it flows easy and bonds strong.
🧱 Concrete Patch Compound (For wider or deeper cracks)
- Mix with water or buy pre-mixed
- Use a trowel to smooth and feather
- Good for larger driveway or patio cracks
Dap Ready-Mix Concrete Patch and Quikrete Vinyl Concrete Patch are solid go-tos.
Step 4: Tool It Smooth + Let It Cure
Smooth the filler with a putty knife or margin trowel. Follow the manufacturer’s dry time—usually 2–8 hours before foot traffic, 24+ hours for vehicles.
Step 5: (Optional) Seal the Area
If you want extra protection, use a concrete sealer after the patch has cured. This helps keep water out and prevents future cracking.
We recommend Foundation Armor AR350 Sealer—it’s clear, easy to apply, and enhances color too.
🧰 Recommended Tools + Supplies
- Concrete Crack Filler – Sikaflex or Dap
- Wire Brush
- Margin Trowel or Putty Knife
- Caulk Gun (Heavy-Duty)
- Shop Vac or Leaf Blower
- Concrete Sealer (Optional)
❌ What to Avoid
- Latex caulk – not flexible enough
- Unprepped cracks – filler won’t bond
- Filling without cleaning – debris weakens the repair
- Ignoring trip hazards – raised cracks = bigger safety issue
✅ Final Tips
- Don’t patch in direct sun—shade the area if needed
- Wear gloves—sealant gets sticky fast
- For major cracks or shifting slabs, bring in a pro
With the right tools and materials, you can knock out concrete crack repair in a single afternoon. It’s one of the easiest ways to preserve your curb appeal—and avoid bigger fixes down the line.