
HOW TO BUILD GARAGE SHELVING
If you’ve ever wanted to maximize space and get organized, this guide shows you how to build garage shelving that’s strong, adjustable, and affordable.
Tools & Materials
💡 Tip: If you want wall-mounted shelving, this build still works—just fasten the back legs directly into wall studs.
Some of the links are affiliate links, which means we may earn a small commission if you buy through them (at no extra cost to you). We only recommend tools we’d use ourselves — thanks for supporting Gold Team Home!
Step-by-Step Instructions
Step 1: Measure and Design Your Shelves
- Decide shelf width, depth, and how many levels you want (3–4 is common).
- Sketch your design with dimensions before you cut anything.
Step 2: Cut All Lumber to Size
- Cut 2x4s for uprights, shelf frames, and cross braces.
- Cut plywood to shelf width and depth.
Step 3: Build Shelf Frames
- Assemble rectangular frames using 2x4s and screws.
- Pre-drill to avoid splitting.
Step 4: Attach Uprights
- Mark shelf positions on upright legs.
- Screw shelf frames into uprights at each level.
- Use a level to keep everything plumb as you go.
Step 5: Install Plywood Shelves
- Drop each plywood sheet onto its shelf frame.
- Secure with screws if desired (or leave removable for adjustability).
Step 6: Place and Anchor Your Shelving
(Optional but recommended) Anchor to the wall studs for safety.
Move the finished shelf into place.
Pro Tips
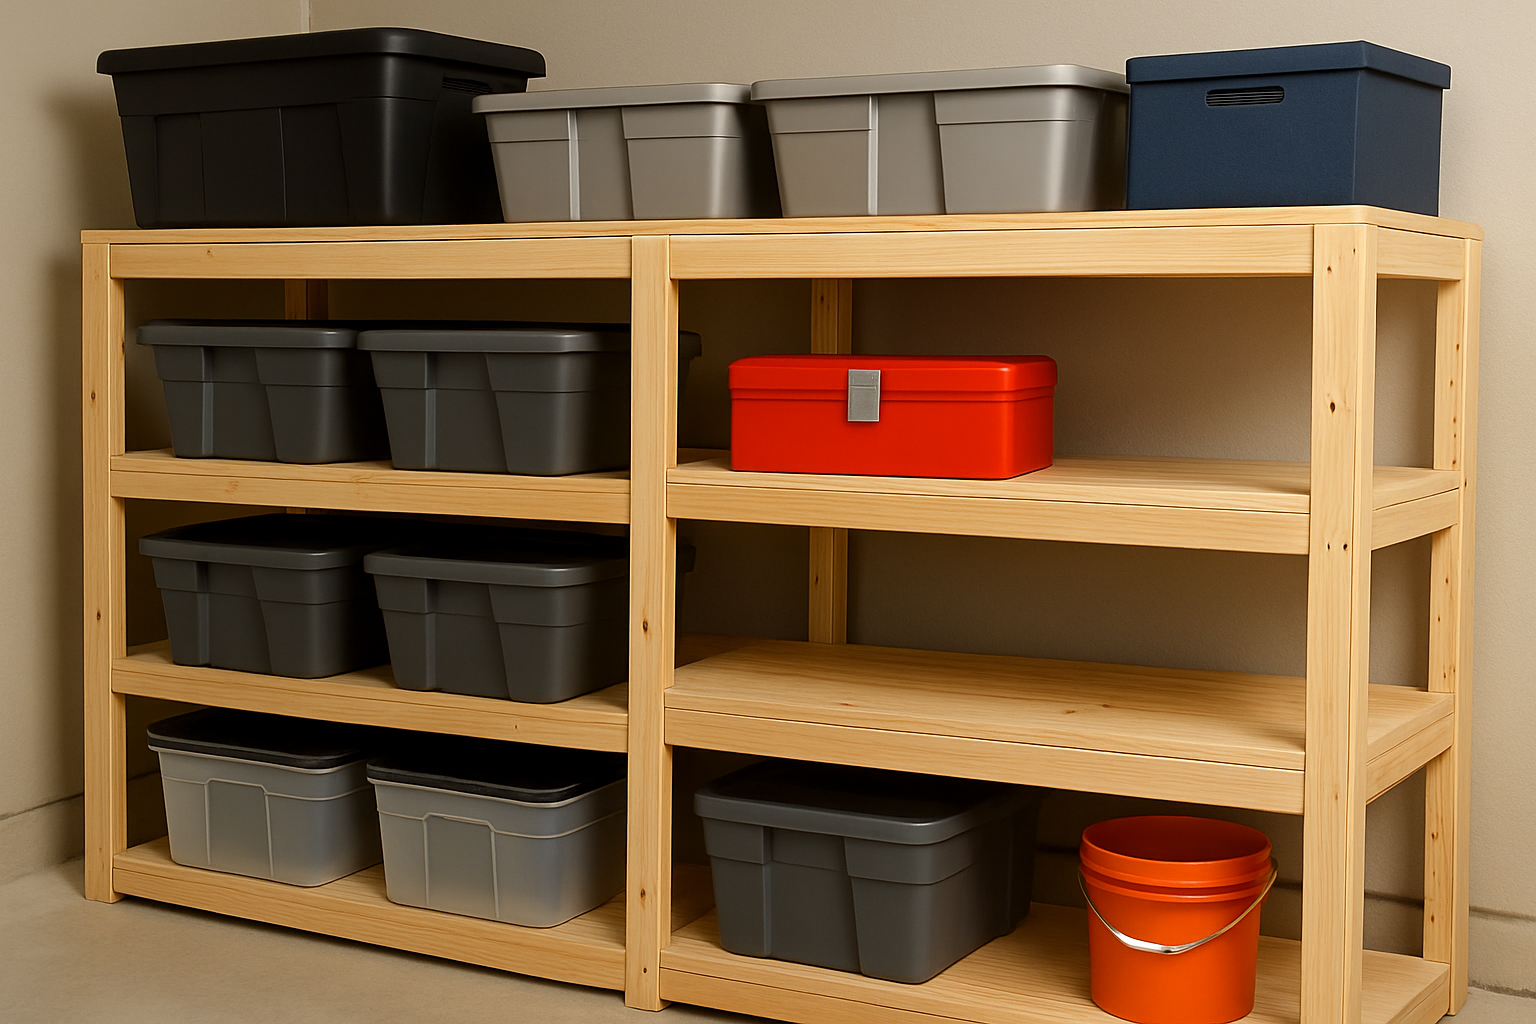
Space shelves to fit labeled totes, tools, or storage bins.
Paint or seal the wood if your garage gets humid or dusty.
Add casters to make it mobile (if you don’t anchor it).
Declutter Your Garage for Good
Don’t stop at shelves—use them. Label your bins, group by category, and make your space easy to use, not just store. You’ve got this.
Organize Like a Pro
We’ve got more smart builds and easy wins to get your space under control. From garage upgrades to closet hacks—it’s all in the Playbook.
Garage Shelving Essentials
Build your storage shelves with confidence—these tools will make the job smoother, safer, and more precise.
Level Up Your DIY Skills – One Weekend at a Time
Join our free DIY email list and get weekly tips, tools, and guides to tackle your next home project like a pro. No spam, just real help.