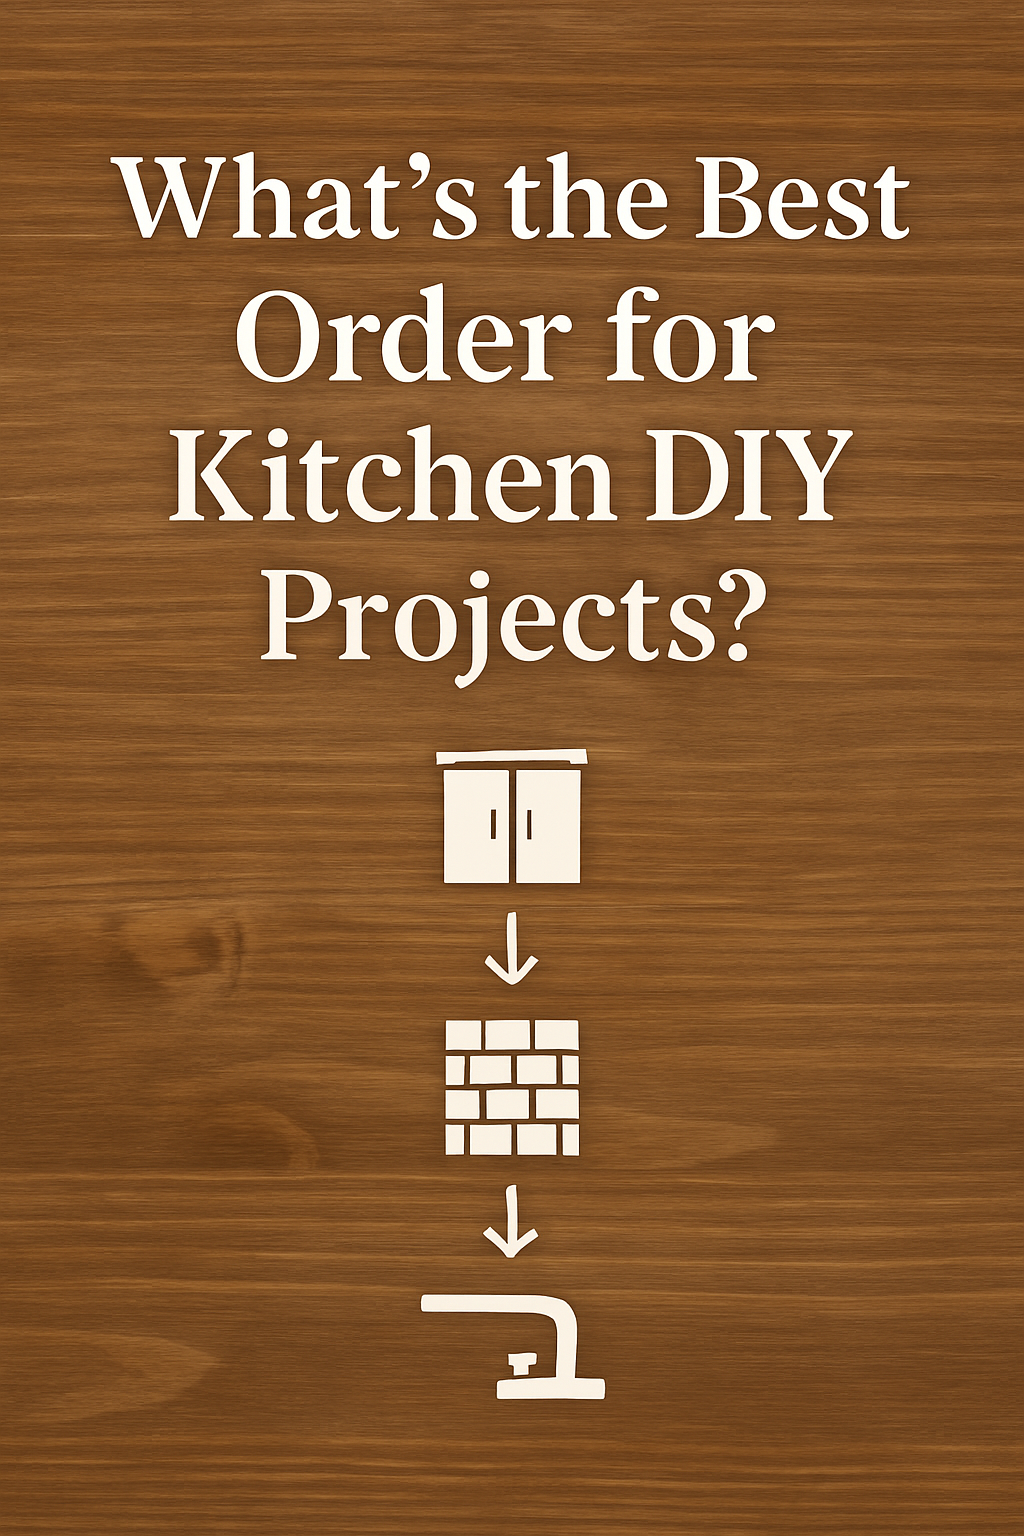
DIY kitchen upgrades can save you serious money—but doing them in the wrong order can turn your dream project into a mess.
Here’s how to plan your kitchen projects so they flow together smoothly, save time, and avoid costly do-overs.
⸻
1. Start with Cabinets (Or Anything That Touches the Walls)
Cabinets are usually the biggest visual and structural element in your kitchen. If you’re painting, replacing, or refacing them, do it first.
Why it goes first:
• You don’t want to drip paint or scratch a new backsplash or countertop.
• Cabinet layout changes can affect everything else (like tile lines or counter cutouts).
👉 See our Cabinet Revamp Guide for a full step-by-step process.
⸻
2. Install or Paint Trim Next
Baseboards, crown molding, and window trim should be dealt with early—especially if you’re painting walls or cabinets.
Why now:
• Easier access when appliances or counters aren’t in the way.
• Clean paint lines and less masking hassle.
Pro Tip: Paint trim before installing it for faster, cleaner results.
⸻
3. Do Backsplash After Cabinets
Once the cabinets are locked in, your backsplash can fit perfectly in the space.
Why it’s next:
• You’ll know exactly where the backsplash starts and ends.
• Prevents having to recut tile later if upper cabinets change.
👉 Follow our Tile Backsplash Guide to do it like a pro.
⸻
4. Update Countertops
If you’re replacing countertops, do it after the cabinets and before any plumbing reconnects.
Why now:
• Counters rest on the cabinet base—any change in height affects sink and backsplash fit.
• You don’t want to damage or misalign a new backsplash later.
Pro Tip: If you’re installing butcher block, seal the underside before placing it.
⸻
5. Finish with Appliances, Sink, and Fixtures
Once all surfaces are in place, it’s safe to reinstall the sink, faucet, and any new appliances.
Why last:
• Keeps paint, debris, or tools from damaging new items.
• Ensures plumbing and electrical hookups don’t get in the way of other steps.
⸻
6. Bonus: Paint Walls Last
You might be tempted to start here—but wait until after trim, cabinets, and backsplash are installed.
Why wait:
• Avoids touchups from dings and dust.
• Lets you color match with the final look of your kitchen materials.
⸻
✅ Final Thoughts: Think Layers, Not Speed
The best order of DIY kitchen upgrades follows one simple rule: work from the outside in, and top to bottom.
Start with anything big and structural. Then layer on details like tile, paint, and fixtures. It’s cleaner, faster, and you’ll avoid double work.
⸻
Recommended Guides:
• Revamp Kitchen Cabinets on a Budget

