Stop Wasting Time on DIY the Hard Way. DIY doesn’t have to mean trial and error. With a few pro-level DIY shortcuts, you can finish projects faster, avoid rookie mistakes, and get results that actually look pro — no contractor badge required.
These seven tricks are the kind of tips you wish you learned sooner. The best part? You don’t need expensive tools or advanced skills to use them — just a bit of know-how and a willingness to work smarter.
1. Tape Your Caulk Lines Like a Pro
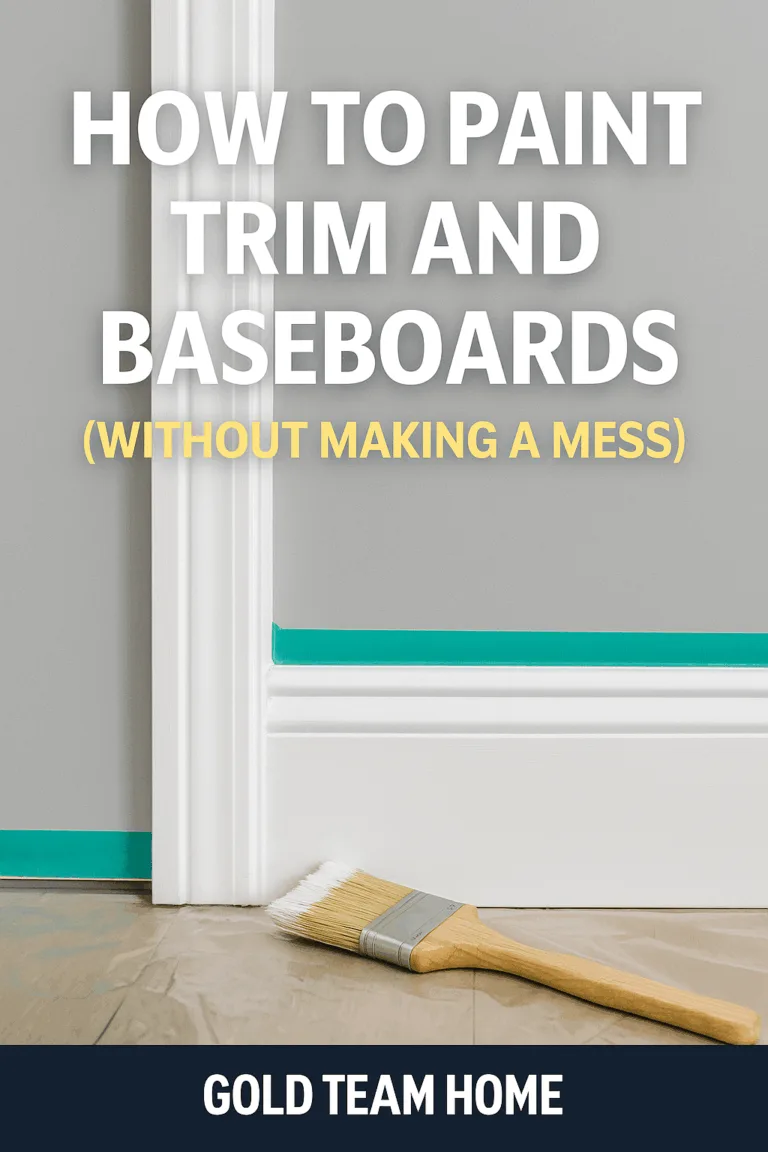
The Shortcut: Lay painter’s tape on both sides of the seam before applying caulk. After smoothing the bead, peel the tape away for crisp, clean edges.
Why It Works: It eliminates messy smears and uneven lines, especially in bathrooms and kitchens.
Pro Tip: Use silicone caulk for wet areas, and smooth it with a damp finger for best results.
2. Turn Old Toothbrushes into Detail Tools
The Shortcut: Save worn-out toothbrushes and use them to scrub tight spots like grout lines, cabinet corners, or hinges.
Why It Works: They’re stiff enough to clean well, soft enough not to damage finishes, and perfect for precision.
Pro Tip: Label DIY toothbrushes so they don’t end up back in the bathroom.
3. Always Pre-Drill Before Screwing Into Wood
The Shortcut: Drill a small pilot hole before driving screws into wood.
Why It Works: It prevents wood from splitting and keeps screws aligned — especially important for trim, furniture, or shelving.
Pro Tip: Use a countersink bit if the screw head needs to sit flush.
4. Score Before You Cut (Especially on Drywall or Vinyl)
The Shortcut: Score your cut line with a utility knife before sawing or snapping.
Why It Works: Scoring reduces tearing and gives you a cleaner break — whether you’re trimming flooring, paneling, or drywall.
Pro Tip: Use a straightedge or square to keep lines clean and accurate.
5. Vacuum While You Sand
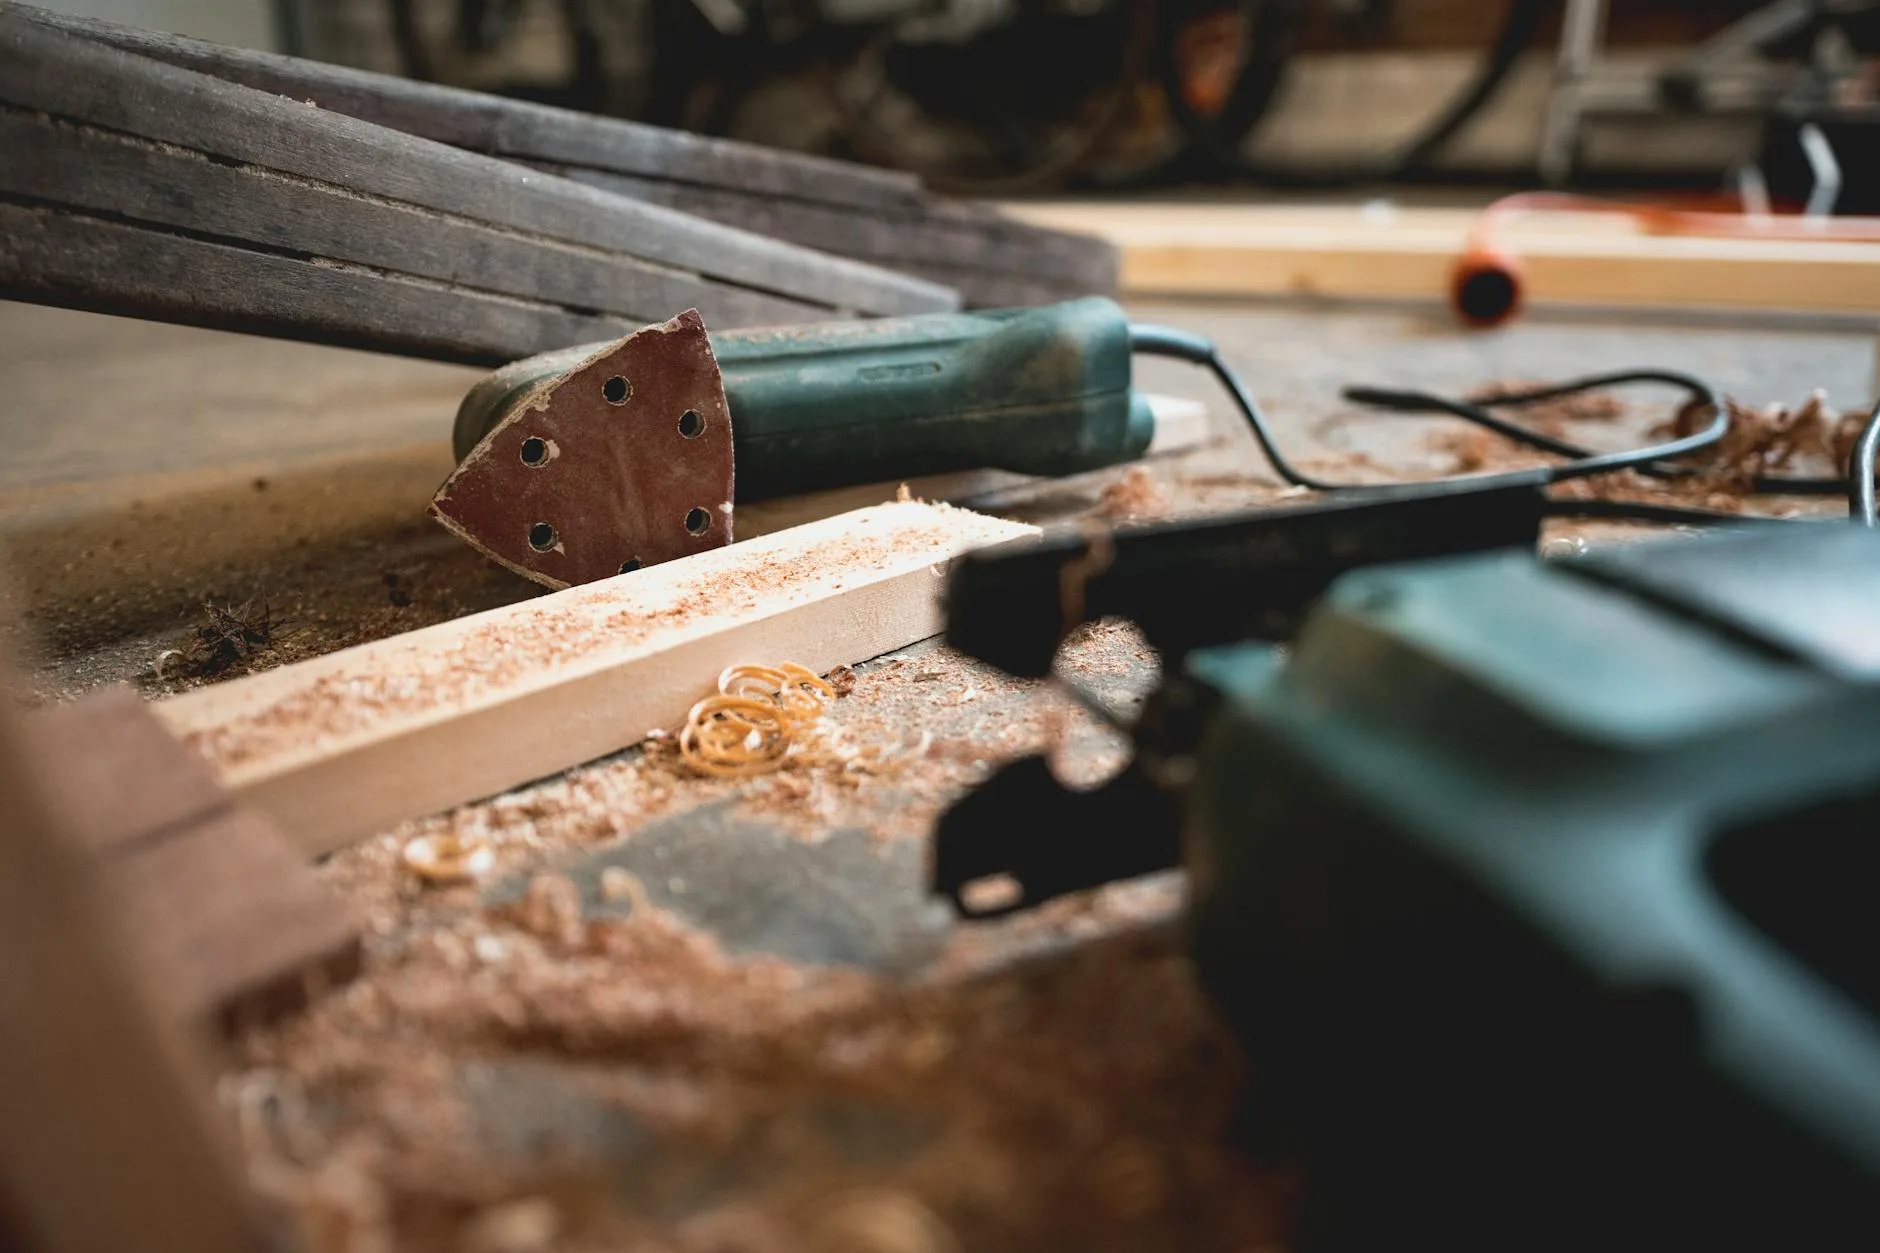
The Shortcut: Tape your shop vac hose directly to your orbital sander or sanding block.
Why It Works: It catches most of the dust as you go — meaning less cleanup and better visibility.
Pro Tip: This works even better with fine dust filters or HEPA attachments.
6. Label Every Paint Can You Keep
The Shortcut: Write the room name, paint color, and date right on the lid of each can.
Why It Works: Six months from now, you won’t remember which shade of gray goes in the living room.
Pro Tip: Keep a mini swatch taped to the can for extra clarity during touch-ups.
7. Ziplock Your Hardware Like a Project Manager
The Shortcut: As you disassemble furniture or remove fixtures, toss all screws and hardware into labeled ziplock bags.
Why It Works: Reassembly becomes fast, frustration-free, and way more organized.
Pro Tip: Tape the bag to the item or store it in the same box if moving.
Final Word: Smart DIY Isn’t About Working Harder
These aren’t hacks — they’re pro-level DIY shortcuts that serious DIYers use to save time and get cleaner results. Whether you’re painting a room, mounting shelves, or doing a full upgrade, these little adjustments add up to a much smoother experience.
Need tools to make this stuff easier?
👉 Check out our Tools We Recommend page


