
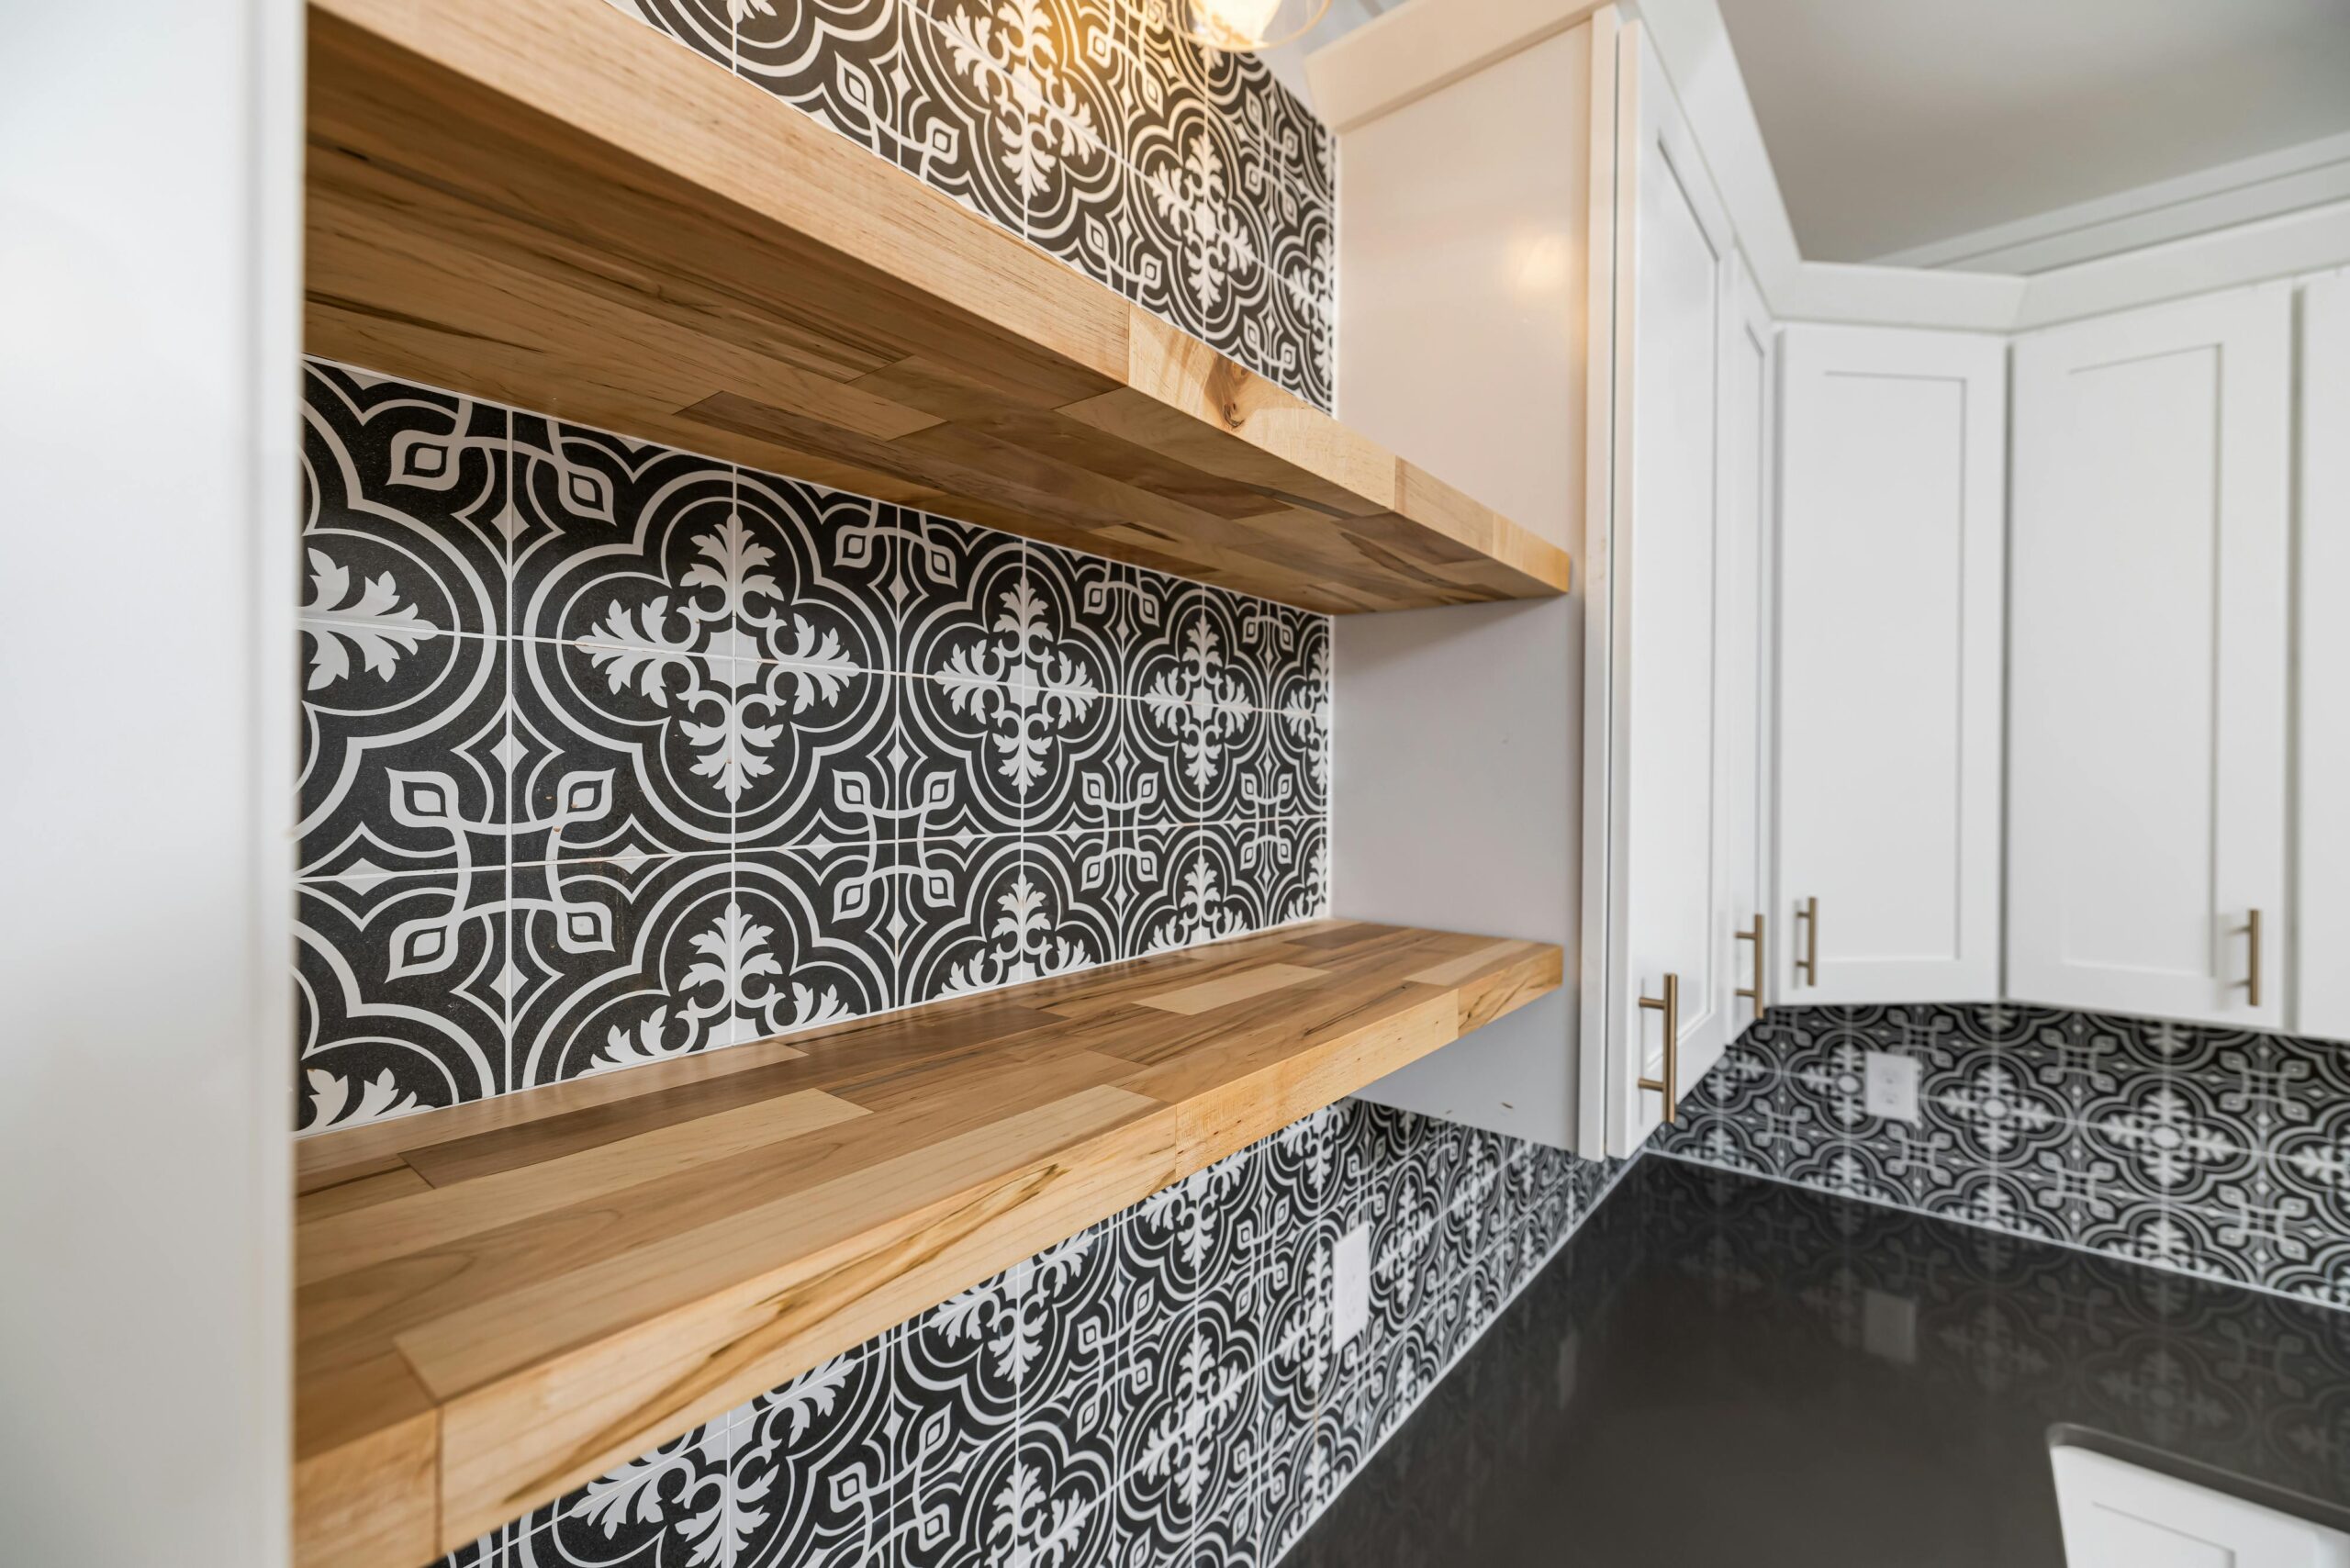
Installing a Tile Backsplash
Add texture and style to your kitchen or bathroom by learning how to install a tile backsplash with this simple step-by-step guide.
Tools & Materials
- Tile of your choice
- Tile adhesive (mastic or thinset)
- Notched trowel
- Tile spacers
Some of the links in this guide are affiliate links, which means we may earn a small commission if you buy through them (at no extra cost to you). We only recommend products we’d use ourselves — thanks for supporting Gold Team Home!
Step-by-Step Instructions
- Prepare the Surface
Clean and dry the wall. Remove any grease or residue and mark a level guide line. - Plan Your Layout
Dry-lay tiles on the counter to determine your starting point and avoid small cuts near edges. - Apply Adhesive
Use a notched trowel to spread adhesive evenly on a small section of the wall. - Install the Tiles
Press tiles firmly into place using spacers between each one. Work in small sections to prevent adhesive from drying out. - Cut Edge Pieces as Needed
Use a tile cutter or wet saw for pieces near edges, outlets, or corners. - Let Tiles Set
Allow tiles to dry per adhesive instructions (typically 24 hours) before moving on. - Apply Grout
Use a rubber grout float to spread grout over the tile, pressing it into the joints. - Clean Excess Grout
Wipe tiles gently with a damp sponge. Rinse frequently and avoid pulling grout from joints. - Caulk Edges
Seal the edges where tile meets countertop or wall with silicone caulk for a clean, finished look.
This finishing touch ties everything together. Want to level up even further? Our Painting Guide can help you refresh surrounding walls too.
Pro Tips for a Perfect Backsplash
Use tile spacers to keep grout lines uniform and your layout clean.
Work in small sections when applying adhesive so it doesn’t dry before tiles go up.
Wipe grout quickly — grout haze is much harder to clean once it dries.
Use painter’s tape to protect surrounding areas from adhesive and grout.
Practice with a scrap tile to get a feel for cutting before trimming final pieces.
Complete Your Kitchen Upgrade
Your backsplash is done — now round out the room. Try our Cabinet Revamp Guide to refresh your cabinetry or explore all of our DIY Guides for more weekend wins.
Small Tiles, Big Transformation
A backsplash upgrade adds instant style to your kitchen or bath. Want more step-by-step guides to finish the space? We’ve got you covered.
Tile Backsplash Essentials
Whether you’re going classic subway tile or bold mosaic, these tools help make the job smoother, cleaner, and more professional.
Level Up Your DIY Skills – One Weekend at a Time
Join our free DIY email list and get weekly tips, tools, and guides to tackle your next home project like a pro. No spam, just real help.