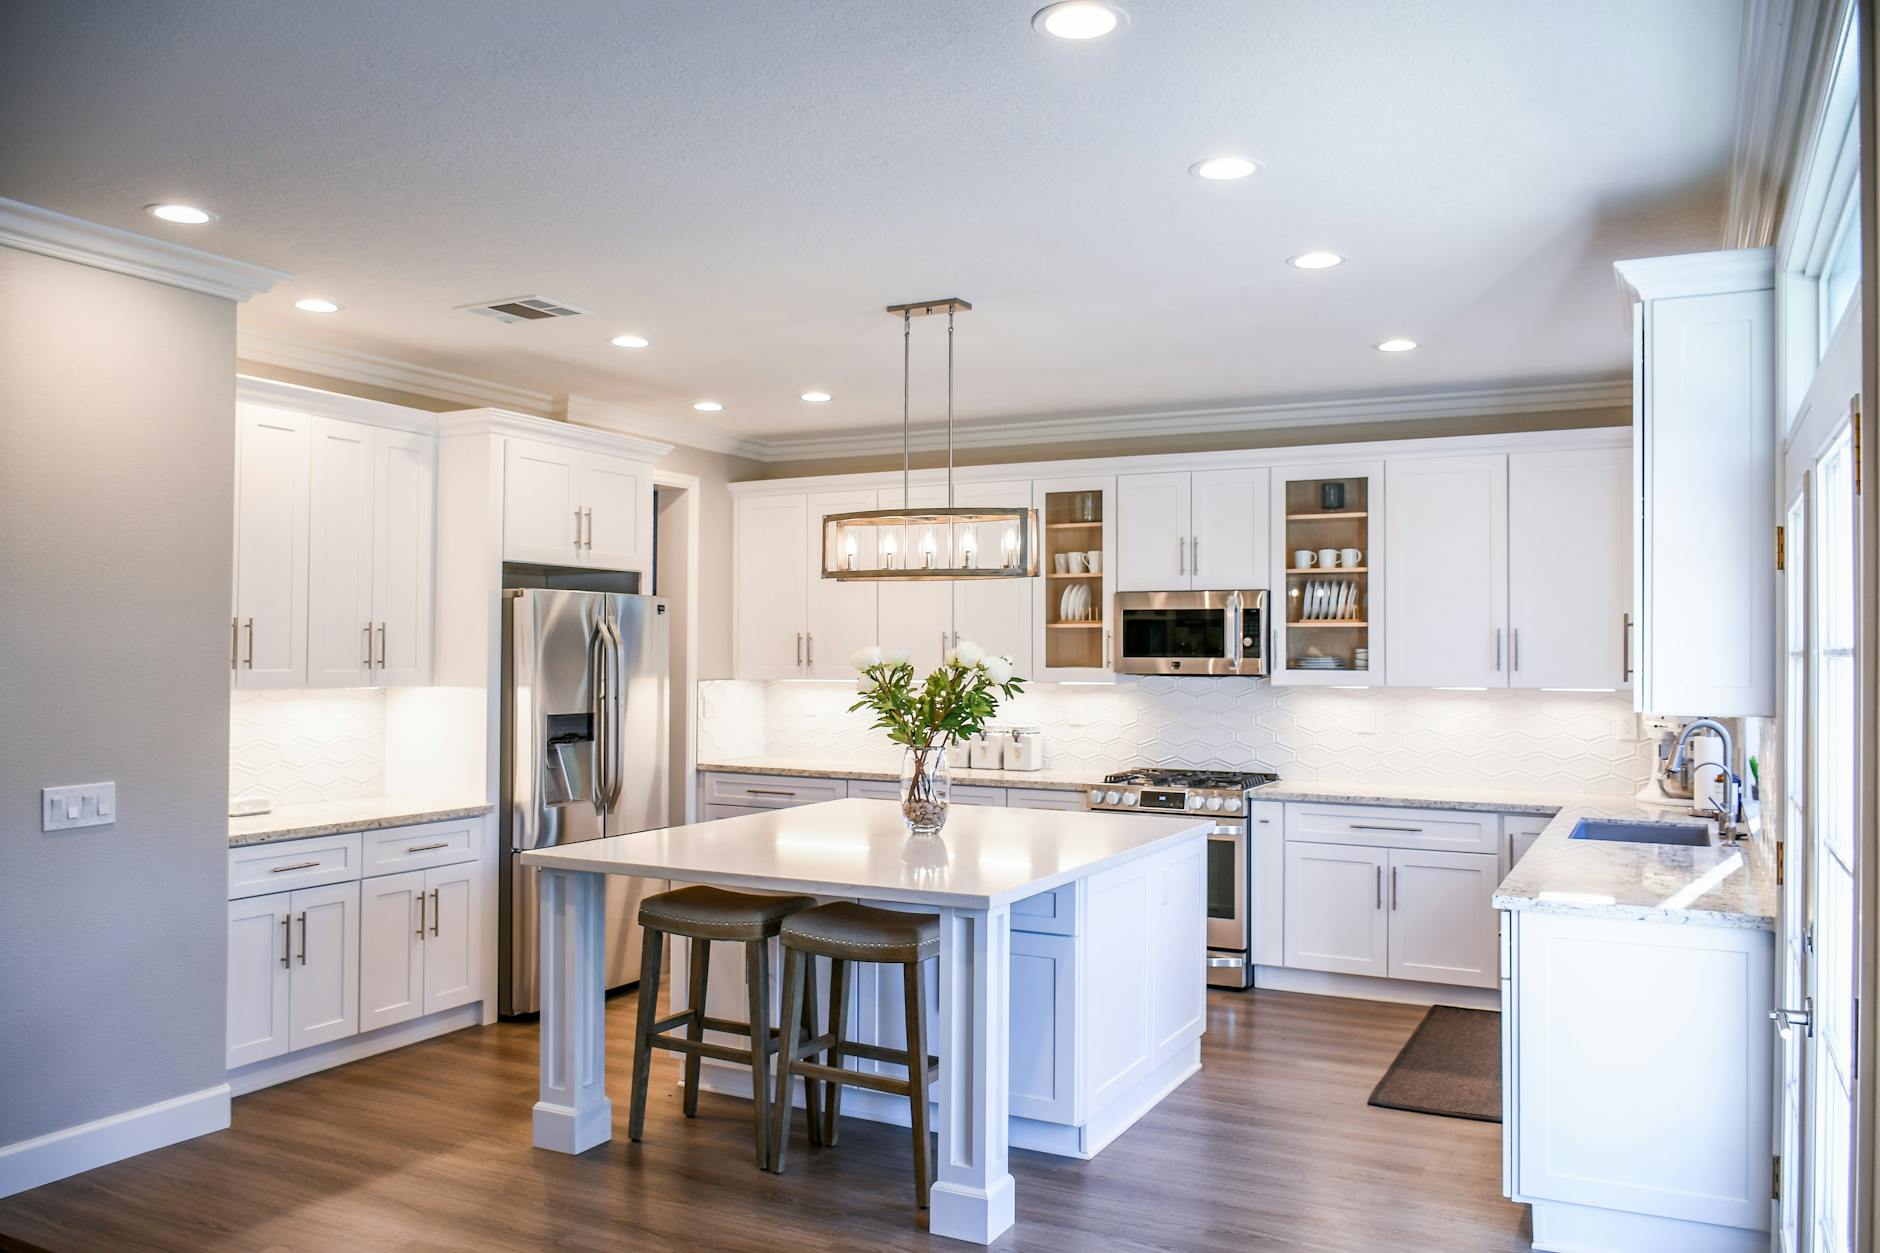
Cabinet Revamp Guide
Give your kitchen a fresh look with paint, hardware, and pro techniques — all on a budget.
Tools & Materials
Step-by-Step Instructions
- Remove Cabinet Doors & Hardware
Label doors and hinges for easy reassembly. Use a screwdriver or drill to remove handles and hinges. - Clean Thoroughly
Use a degreaser or heavy-duty cleaner to remove oils, grime, and residue. - Lightly Sand the Surfaces
Use fine-grit sandpaper or a sanding block to dull the sheen and help paint stick. Wipe clean. - Apply Primer
Use a bonding primer for slick surfaces like laminate. Apply thin, even coats and let dry fully. - Paint the Cabinets
Use a small foam roller for flat areas and an angled brush for corners and details. Apply 2-3 thin coats. [Need help brushing and rolling like a pro? Checkout our Painting Guide for step-by-step help.] - Let Cure Completely
Allow cabinets to dry and cure fully (24-48 hours) before reattaching doors or hardware. - Add New Hardware
Install updated handles, knobs, or pulls to complete the transformation.
Pro Tips for a Flawless Finish
Label everything — Put tape on cabinet doors and drawers with numbers so you know exactly where each one goes.
Don’t skip the degreasing — Cabinets in kitchens collect hidden grime that can ruin paint adhesion.
Use cabinet-specific paint — These are designed to resist chips, stains, and moisture.
Let each coat dry fully — Rushing between coats can lead to tackiness or streaks.
Upgrade your hardware — Even budget knobs or pulls can make the entire cabinet feel brand new.
Take Your Kitchen to the Next Level
New cabinet color? Let’s finish the look. Add style and splash protection with our Tile Backsplash Guide — the perfect next step.
Your Kitchen, Your Way
This cabinet revamp is just the beginning. Explore more DIY guides and learn how to transform you space without breaking the bank.
Cabinet Painting Must-Haves
These tools deliver pro-level results for a fraction of the cost — perfect for any beginner tackling their first cabinet revamp.
Level Up Your DIY Skills – One Weekend at a Time
Join our free DIY email list and get weekly tips, tools, and guides to tackle your next home project like a pro. No spam, just real help.
