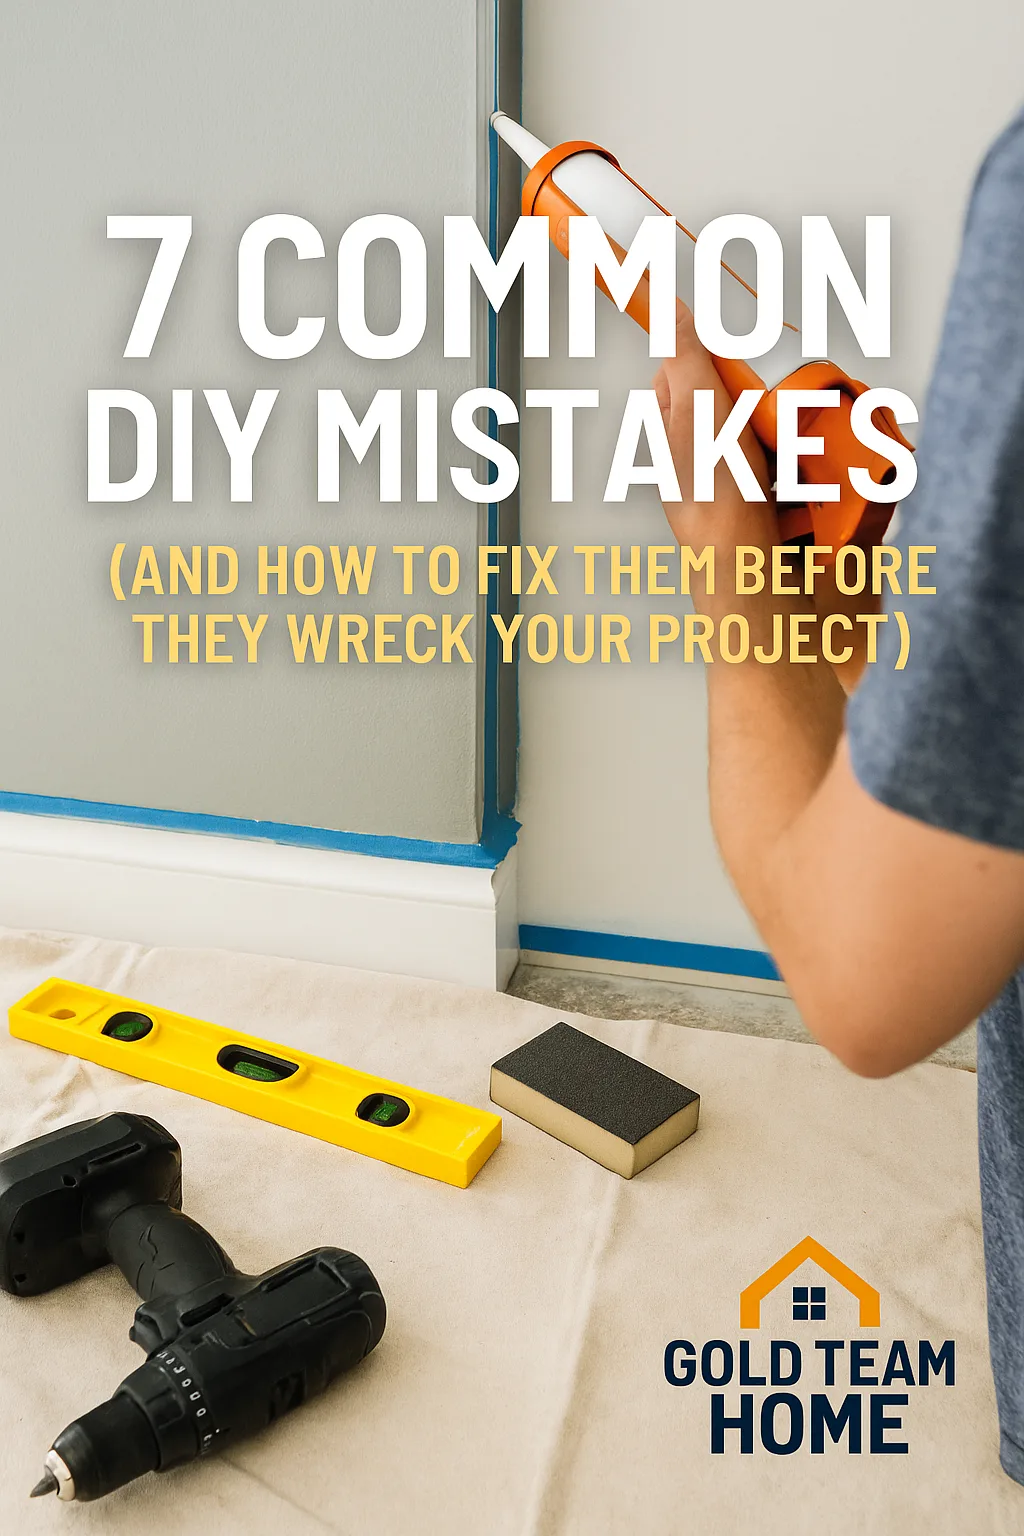
If You’ve Ever Said “That’s Good Enough”… Read This
You bought the paint, charged the drill, watched the tutorial. It should’ve been simple. But now the shelves are crooked, the finish is peeling, or that “quick” project has stretched into day two — all because of common DIY mistakes that catch almost everyone off guard.
You’re not bad at DIY.
You’re just making the same mistakes most people do, and no one talks about.
These are the most common ways homeowners sabotage their own projects. Fix these first, and everything else gets way easier.
Heads up: This post contains affiliate links. That means we may earn a small commission if you buy through our links — at no extra cost to you. We only recommend stuff we’d use ourselves.
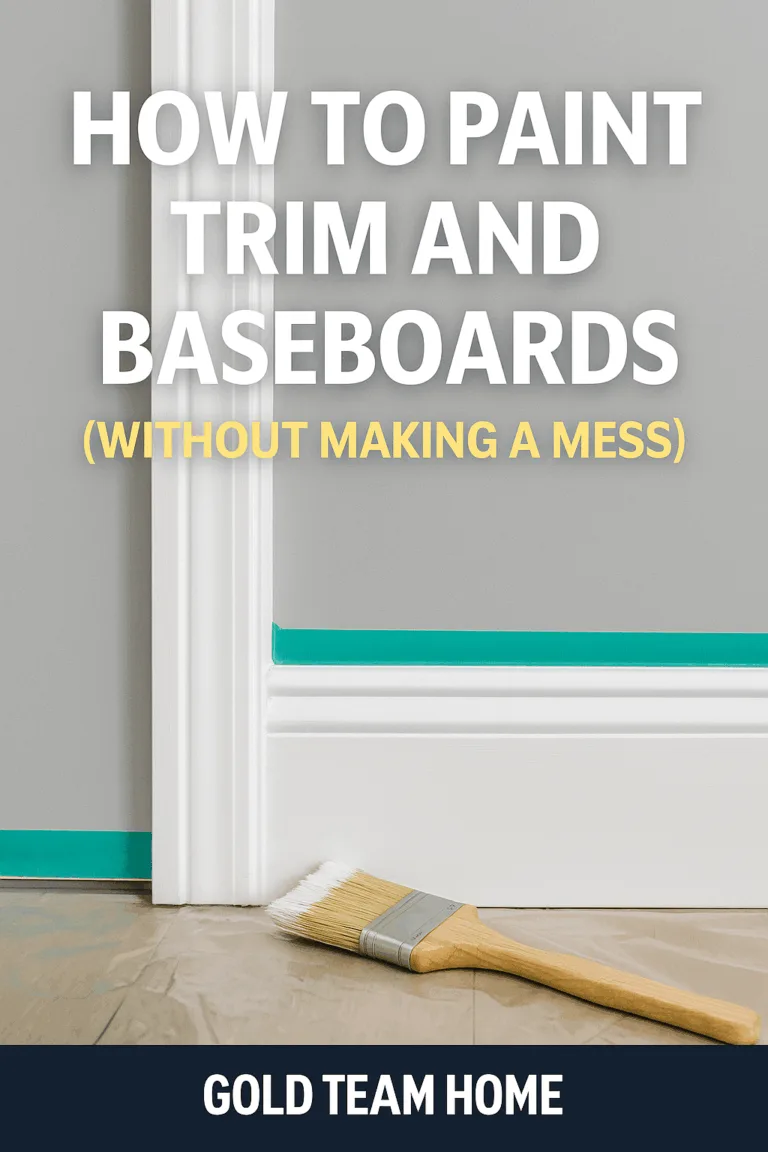
1. Skipping Prep (Because You’re “Just Painting”)
DIY fails usually start before you even open the toolbox. Paint peels, caulk doesn’t stick, and screws pop loose — not because the materials are bad, but because the surface wasn’t ready.
Fix it:
- Clean every surface
- Sand or scuff where needed
- Use painter’s tape and primer (yes, even if the can says 2-in-1)
Pro Guide:
How to Prep Walls for Painting the Right Way
2. Using the Wrong Tool (Or a Cheap One)
Trying to drill with a screwdriver? Been there. Cheap or mismatched tools make everything harder — and sometimes dangerous.
Fix it:
- Invest in a handful of reliable tools
- Learn what each tool is actually for
- Don’t expect one-size-fits-all solutions
Recommended:
10 Essential Tools for First-Time Homeowners
3. Thinking It’ll “Only Take an Hour”
You set aside one hour… five hours ago. Most DIY projects take longer than expected — especially if it’s your first time.
Fix it:
- Block off more time than you think you’ll need
- Expect surprises (missing parts, bad weather, stripped screws)
- Don’t start projects at 8 PM “just to get a head start”
4. Measuring “Close Enough”
Eyeballing it might work for hanging art, but not for mounting shelves or installing anything permanent. One wrong cut, and your whole project’s off.
Fix it:
- Use a good measuring tape
- Mark carefully and double-check level
- Don’t skip the stud finder
Tool Pick:
DEWALT 25-Foot Tape Measure
5. Expecting Paint or Caulk to Hide Mistakes
We all do it — slap on some paint to cover a rough spot or use caulk to close an awkward gap. But those “shortcuts” usually make flaws more obvious.
Fix it:
- Patch or trim first, then finish
- Use filler and sanding to smooth out uneven edges
- Caulk should seal — not cover a bad cut
6. Ignoring Safety (Until It’s Too Late)
DIY accidents aren’t rare — they’re just underreported. One second without goggles, gloves, or ear protection can change everything.
Fix it:
- Keep a basic PPE kit: gloves, goggles, mask, ear plugs
- Use it even for “quick” tasks — sanding, spraying, or loud tools
- Unplug power tools when changing bits or blades
Starter Kit:
3M Safety Glasses, Work Gloves, Safety Mask, Ear Plugs
7. Expecting to Get It Right the First Time
Every DIYer makes mistakes. The difference is experienced DIYers expect it — and fix it. A slightly crooked shelf or uneven caulk line doesn’t mean you’ve failed.
Fix it:
- Expect some mess-ups.
- Learn, adjust, and keep going.
- DIY isn’t about perfection. It’s about progress.
Don’t Burn Out — Get Better
The best way to avoid burnout and project regret? Start smart. Avoid these mistakes, give yourself time, and use tools that actually make your life easier — not harder.
If you’re just starting out, check out these posts next: